How to Add a Border to a Photo with a Computer

18 Revisions

If you want to add a border to a photo in your computer, you need to read this post. This post will show you how to do it.
There are thousands of apps on the mobile phone to help you edit pictures. Add a border is super easy on mobile. But how to add a border to a photo in the computer? You might be confused and don’t know what to do. Take it easy, it’s just like the way you do on your mobile. Here’s how…
Use online tools to add a border
The advantages for online tools are obvious: easy to use, no need to download apps, have many options. If you don’t mind uploading your photo into the internet, you can use online photo editors to add a border.
1. Befunky
1) Get Started and click Edit a Photo in the webpage.
2) Open and upload the photo you want.
3) Frames and choose the one you like.
4) Click the Save button to download the photo. 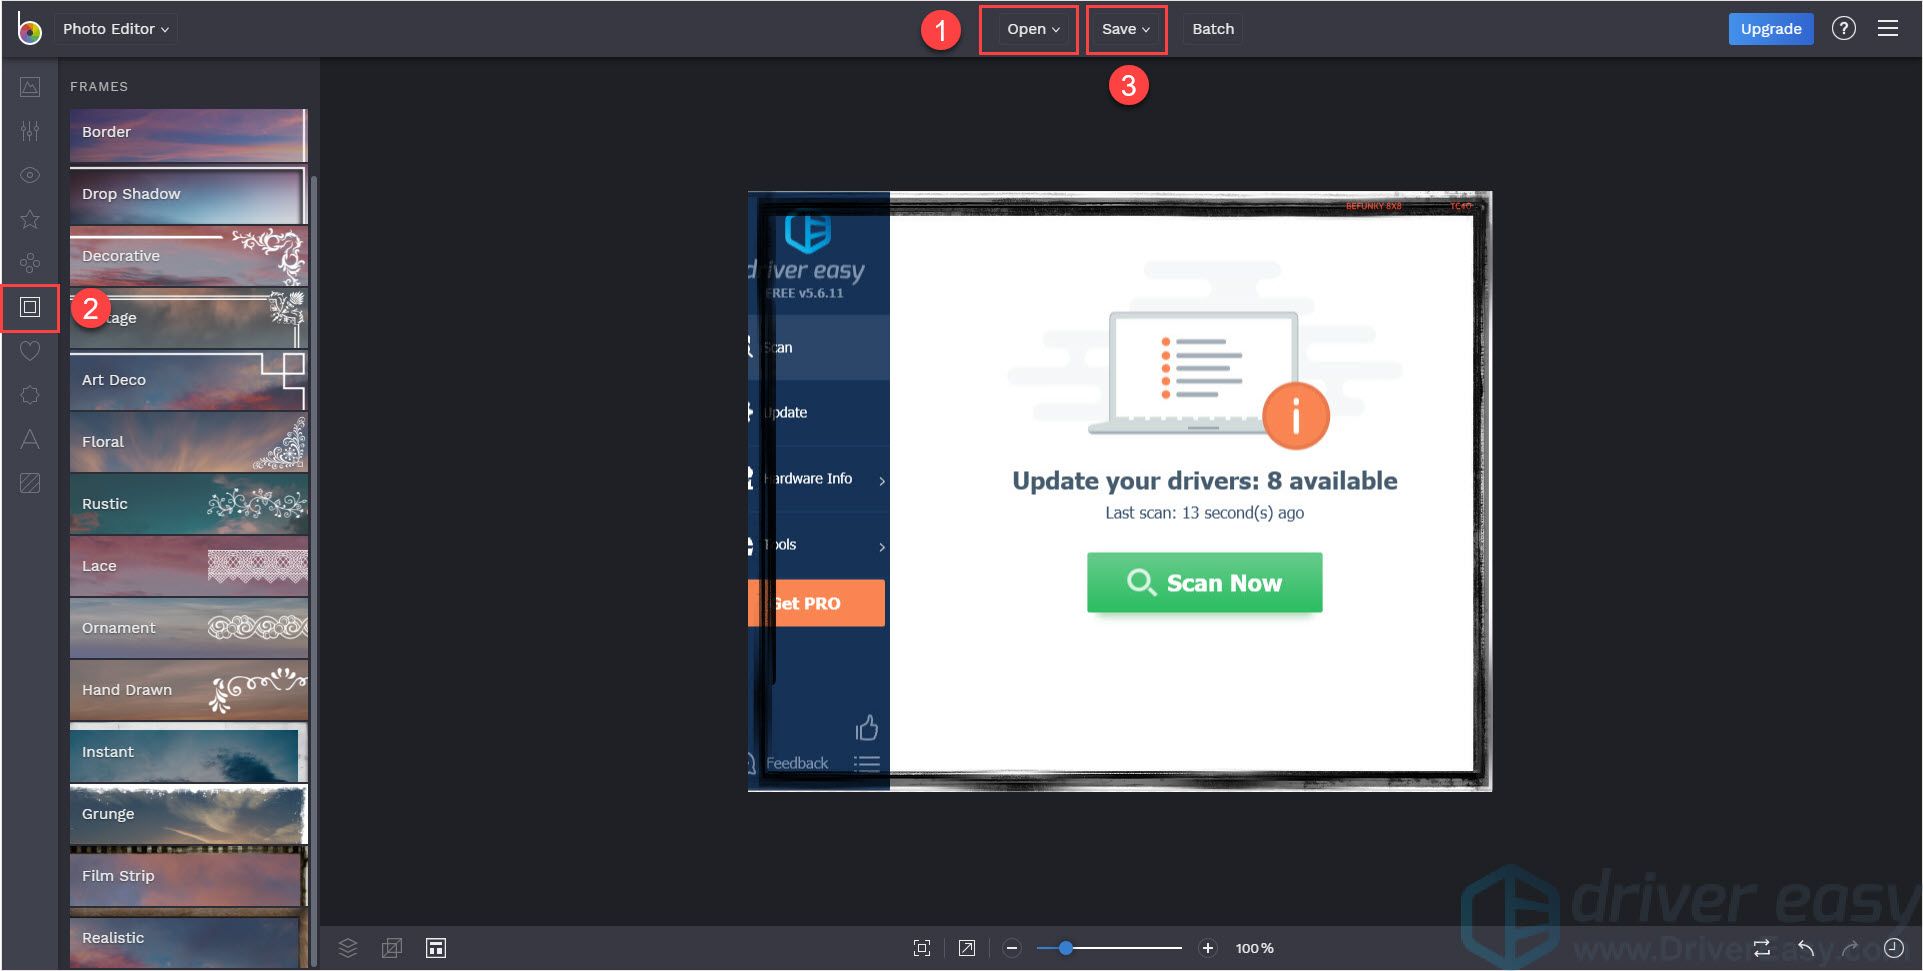
2. Fotor
1) Click Open to upload your picture.
2) Click Frames. Then choose a border you like and click Apply.
3) Click Save to download the photo. 
3. PiZap
1) Click Edit a photo, it will let you choose the version and then you can upload your picture. 
2) Click Borders and choose the frame you like.
3) Click Save to download the photo. 
Use desktop apps to add a border
1. Use Paint to add a border.
If you don’t want to download other apps into your computer, you can use Paint to add a border to your photo. Paint is an in-built program in Windows system, it has basic features to meet your needs.
1) Type paint in the search box and press Enter. 
2) Click File and choose Open to open the photo you want to add a border. 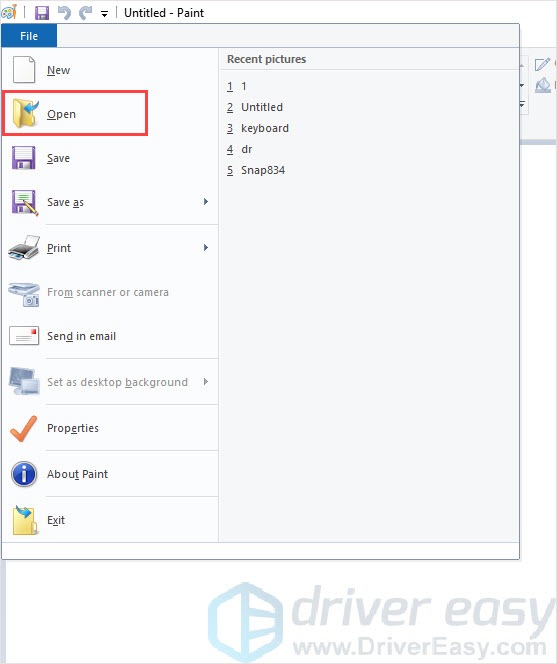
3) Click a shape you want to use as a border. Then you can choose the color, edit its size and outline to create a border you like. 
4) Adjust it by dragging the dotted line. 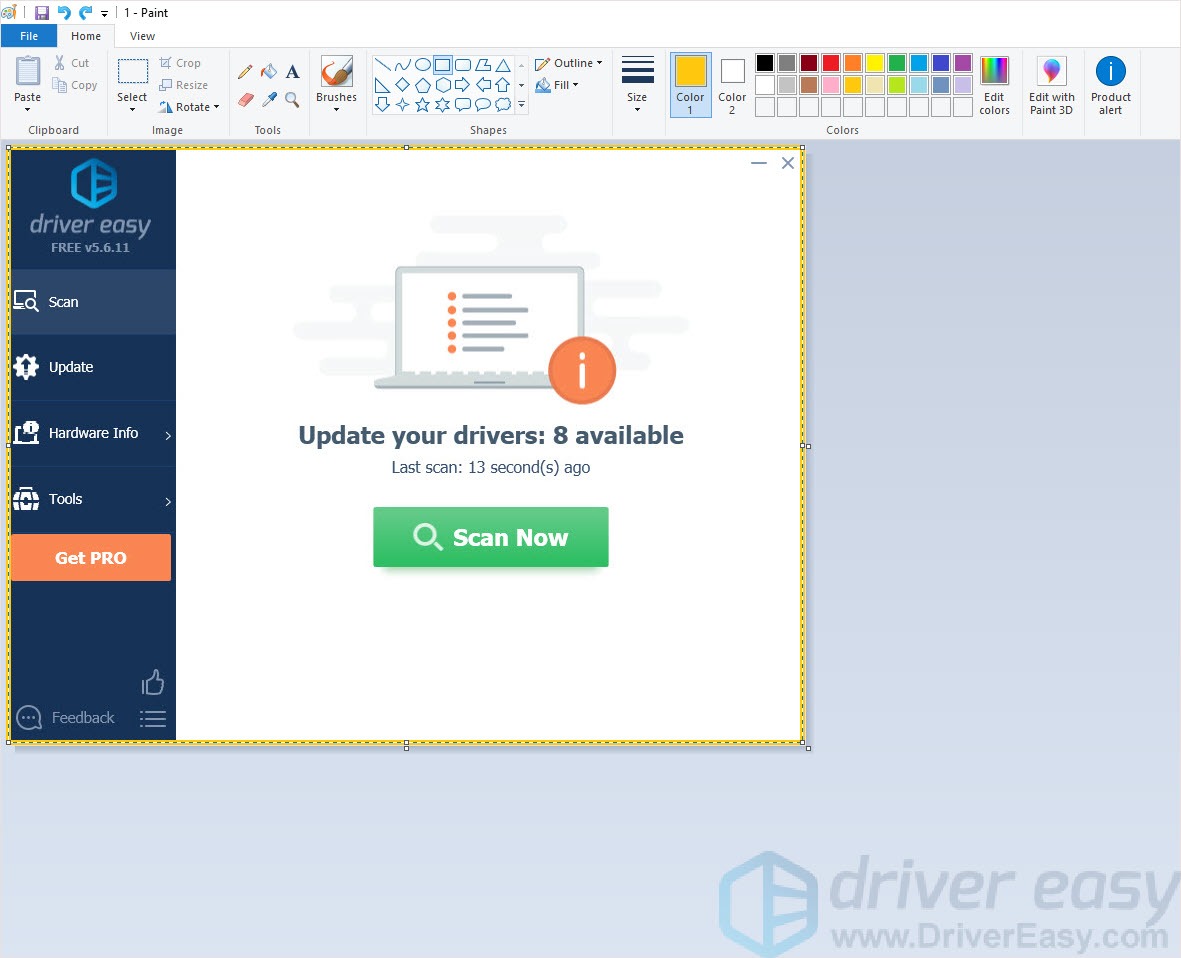
5) Click Save to save it. 
2. Use Word to add a border
What a surprise! Word is not only a tool to write articles but also can help you edit pictures. Here’s how:
1) Open Word and create a new blank document, then add the photo.
2) Right-click on the picture and click Format Picture. 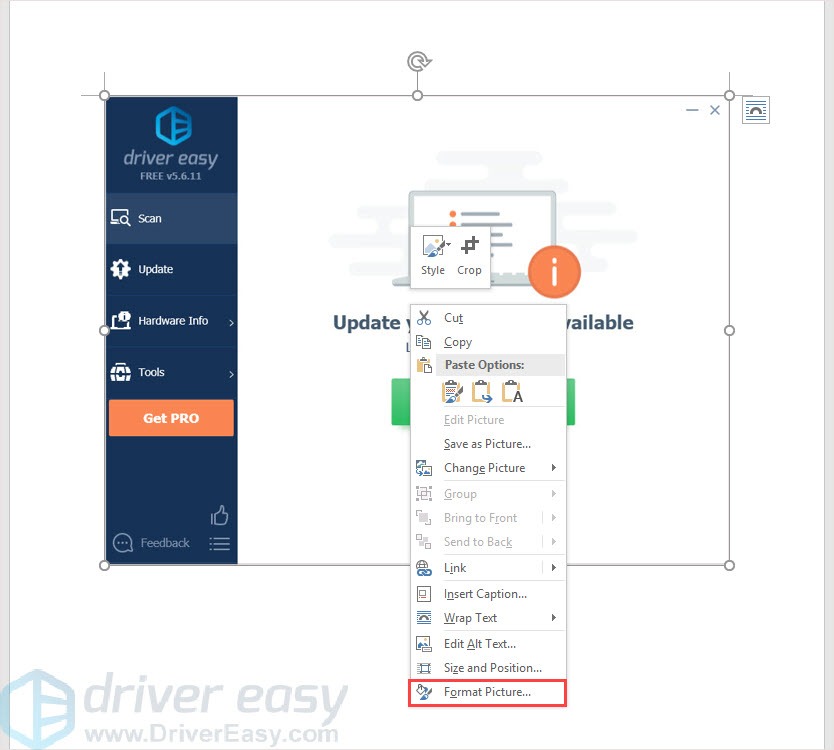
3) Use the two buttons to edit your border. 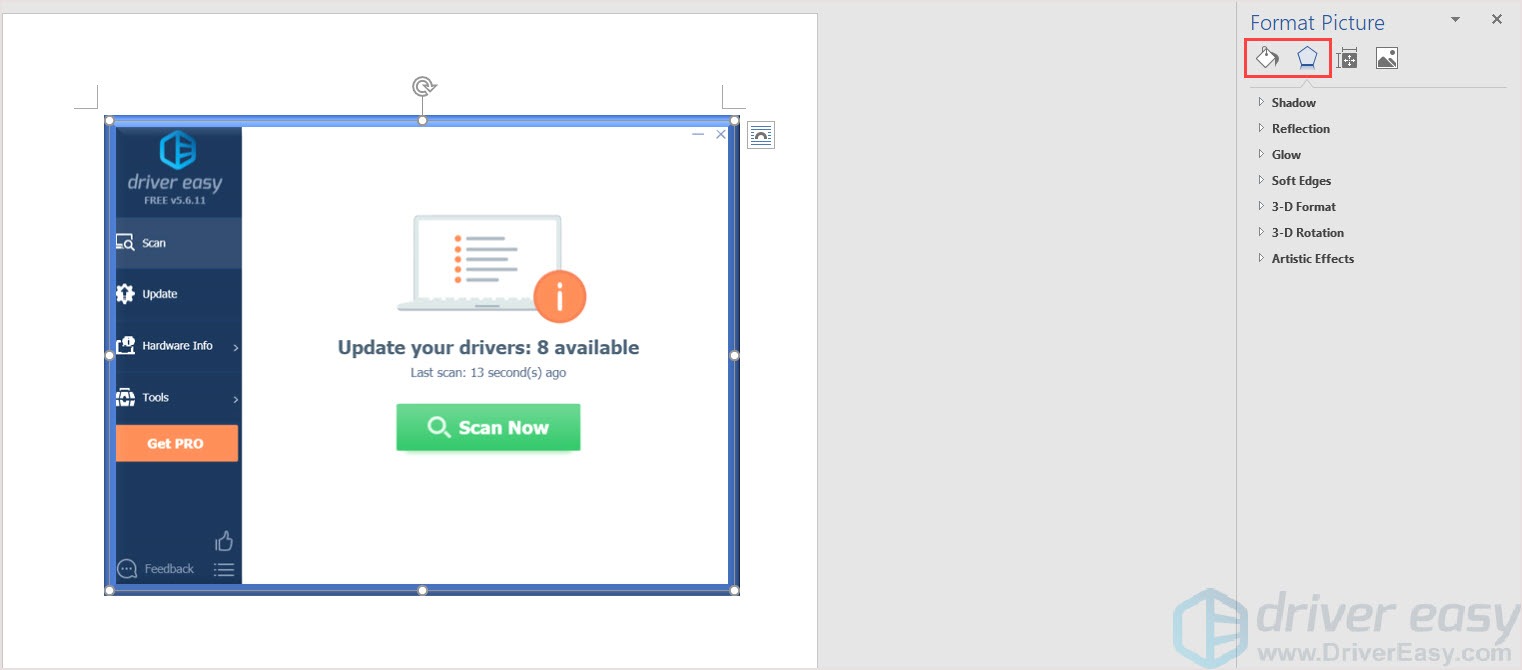
4) Select the picture and press Ctrl + C to copy it. 
5) Open Paint and click Paste. 
6) Click Save to save the picture. 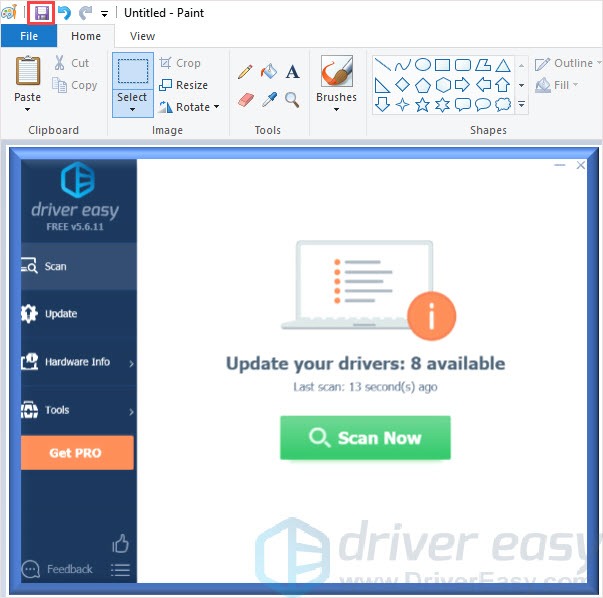
3. Use CorelDRAW to add a border
If you don’t mind download an app that has comprehensive functions to use, you can try CorelDRAW. It’s not only a photo editor, it’s a superior graphic design software and also can do a screen capture. No matter Windows or Mac or webpage, you can use it as you like.
1) Open CorelDRAW and choose to build a new document.
2) Click Tools and select Border and Grommet. 
3) You can edit the border you like and then click OK. 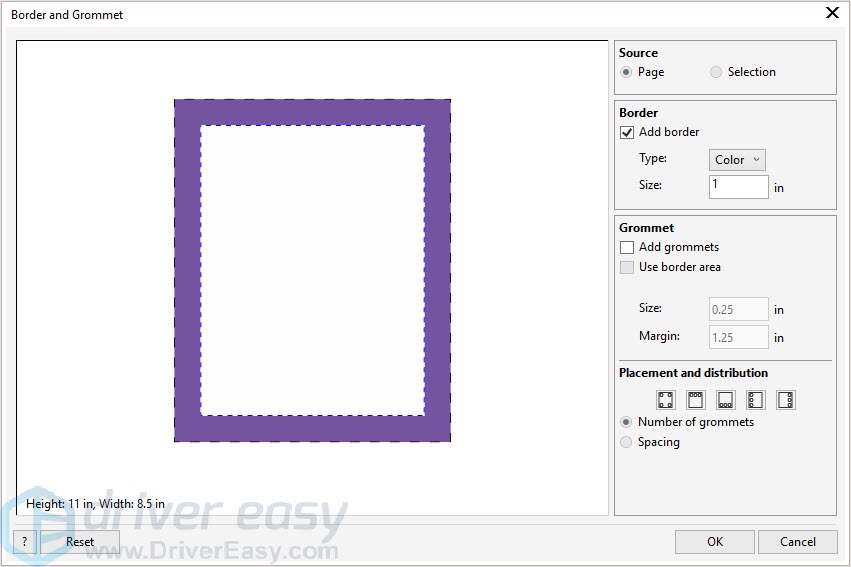
4) Import your photo and adjust the picture. 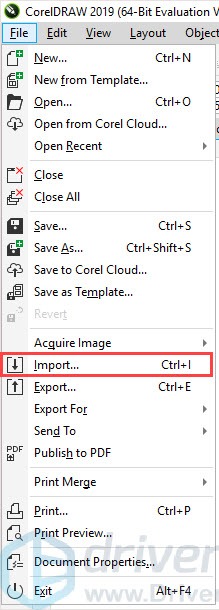
5) Click File and then click Save. 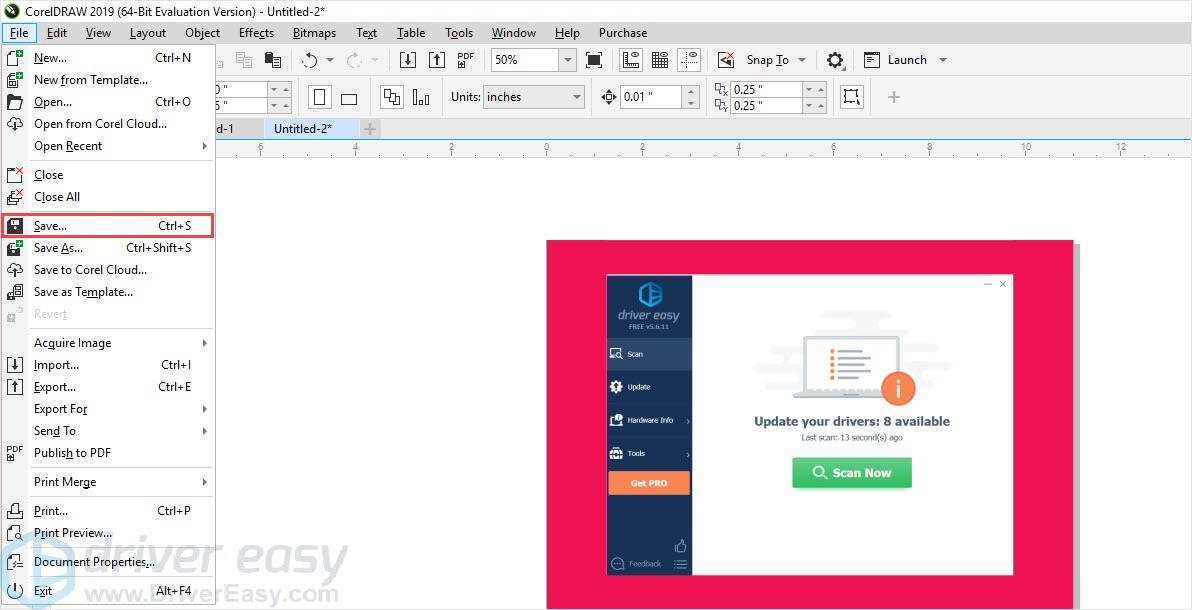
If this article meets your needs, please give us a thumb; if you have any questions or suggestions, feel free to leave a comment below. Thanks for reading.
![[FIXED] How To Remove Red Eye in Photos | Easily & Quickly](https://www.supereasy.com/wp-content/uploads/2019/07/f1.jpg "[FIXED] How To Remove Red Eye in Photos | Easily & Quickly")


![Easy to Make a Blurry Picture Clear [Step-by-Step Guide]](https://www.supereasy.com/wp-content/uploads/2019/07/action-blur-city-1011160-1-768x512.jpg "Easy to Make a Blurry Picture Clear [Step-by-Step Guide]")


")
")
")

 in 2024")
")