3 Quick & Free Ways to Blur a Photo | 2021 Updated

71 Revisions

Are you looking for online tools or professional applications to blur your photos? If yes, then you’ve come to the right place!

Are you looking for online tools or professional applications to edit your photos, like adding a blur effect on them? If the answer is “yes,” then you’ve come to the right place! In this post, you’ll find introductions for both online editor tools and offline programs specializing in photo editing. So what exactly are they and how to blur a photo? Please read and find out the answers….
Products we recommend
For people who prefer the convenience of editing photos online, we recommend Fotor as your go-to option.
For people who care more about expertise and privacy in photo editing, we recommend the following two applications for you.
How to blur a photo with Fotor
Fotor is a free online picture editor and graphic designer, allowing you to use various online photo editing tools including the blur effect. If you are tired of installing a new program on PC and merely want to enjoy the ease of use offered by online tools, Fotor is by all means a reasonable choice. Before determining whether to use it or not, you may take a look at its pros and cons:
Pros
- Capability to edit photos on a webpage
- Offer ease of use and various features (enough for a novice)
- Work as a social network platform for photo sharing, etc.
Cons
- Limited functions available for free
- Have so many ads on the webpage (for the free version only)
Now let’s cut to the chase and see how to blur a photo with Fotor.
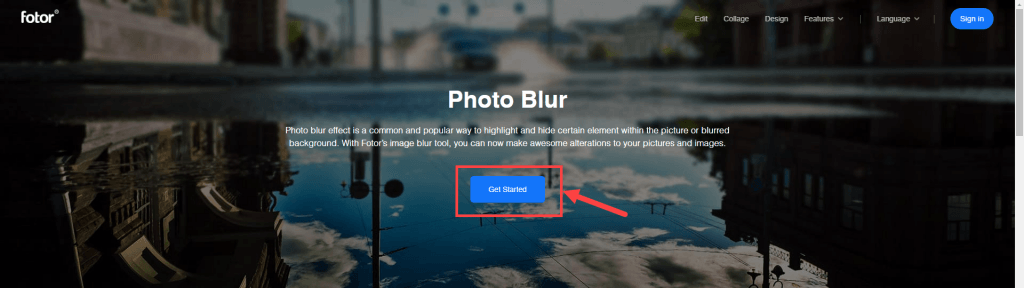
1) Go to the website of Fotor that specializes in photo blur effect.
2) Click Get Started.
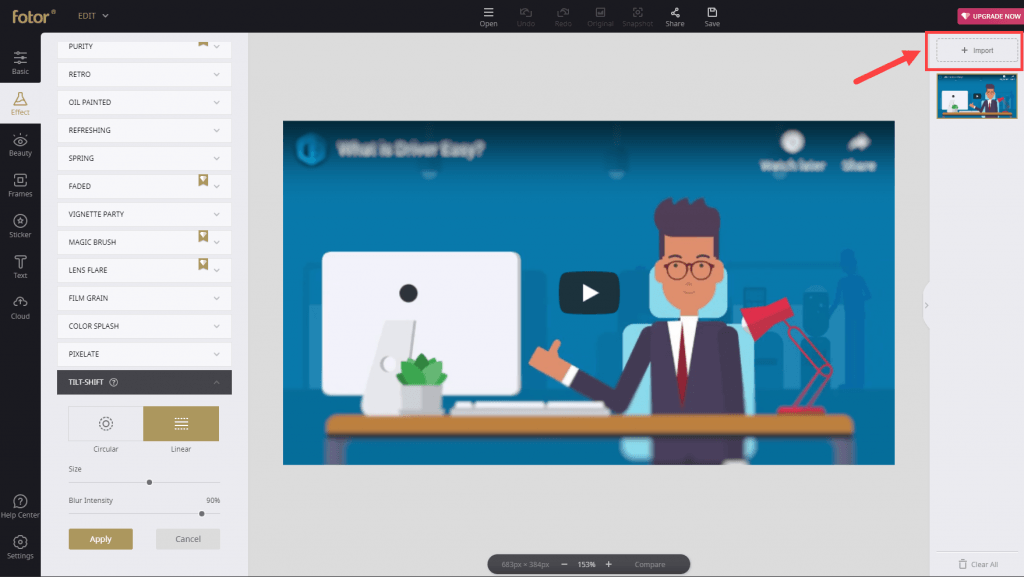
3) Click Import at the upper right corner of the Fotor interface. Then select one or more photos from your computer folders. The photos will be displayed on the pane below Import.
4) Now pay attention to the left pane. Click TILT-SHIFT to expand its drop-down menu.
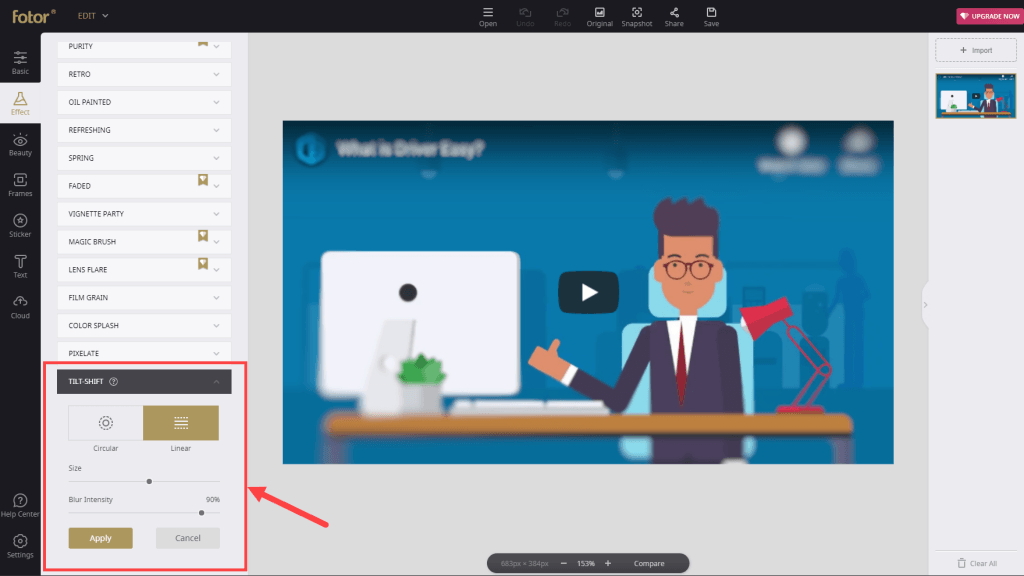
5) Under TILT-SHIFT, choose either Circular or Linear to your preferences. Then drag the sliders of Size and Blur Intensity to change their values.

Also, you can move your mouse cursor to somewhere in the photo until you see a circle (for the Circular shape) or two parallel lines (for the Linear shape) indicating the borders of a blurry area. Simply use your mouse to drag the circle or the lines to adjust their locations in the photo.

6) Once you finish the modification, click Apply.
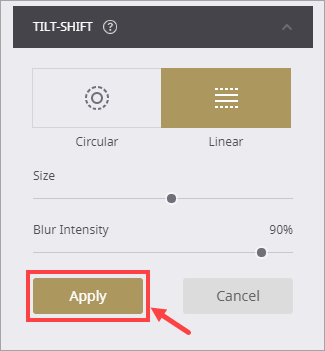
7) The ultimate effect will be shown in the center of the interface. If you’re not satisfied with it, simply repeat Step 5 to reset the values as you like.
There you go – now you must have mastered the trick to blur a photo with Fotor. Still, if you don’t feel like using Fotor, please read on and try out the next two editor tools.
How to blur a photo with Corel PaintShop Pro
Compared with Fotor, Corel PaintShop Pro appears more professional in the field of photo editing. However, it is not available for users to edit photos on a webpage as the app needs to be downloaded. In some way I’ll say it’s a relatively low-priced alternative for Photoshop but not having as many powerful features (still, it’s feature-packed in its own rights). Here we list some of its pros and cons for you:
Pros
- Relatively low-priced compared with Photoshop
- A wide range of both basic and professional tools for either novices or specialists
- Well-arranged editing tools and user-friendly interface
- No ads at all
Cons
- Limited effects compared with Photoshop
- Require more skills compared with Fotor
- For Windows only
Next we’ll show you how to blur a photo with Corel PaintShop Pro.
1) Run Corel PaintShop Pro (here I simply use the trial version).
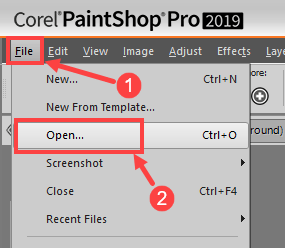
2) Click File in the top menu bar and then select Open…. Choose a photo that you want to edit.
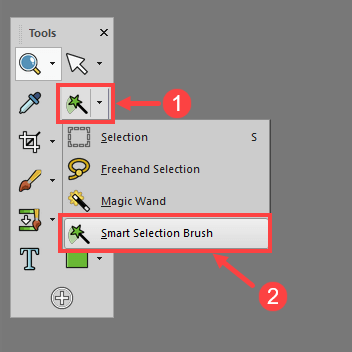
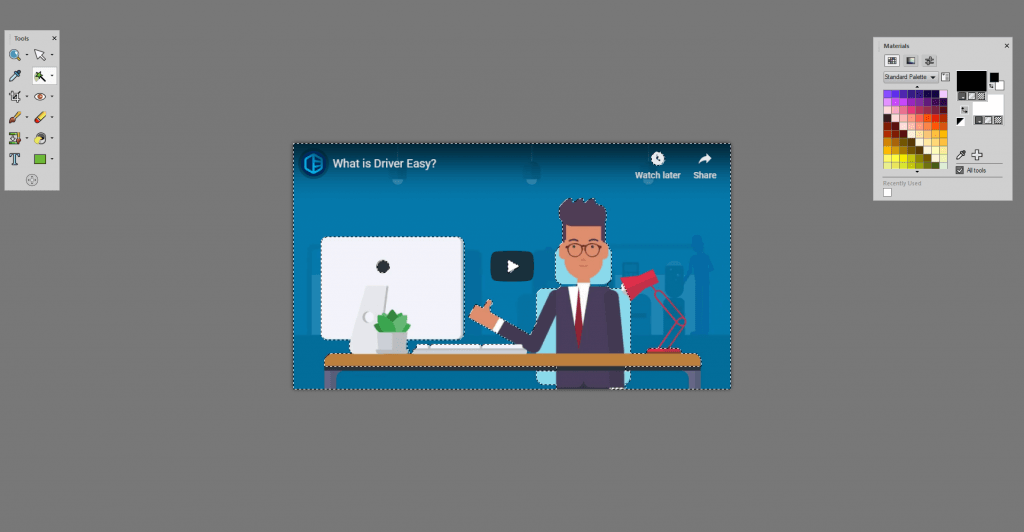
3) From the left tool list, locate Smart Selection Brush and click on it. You may also choose other selection tools depending on your requirements.
4) You can reset the parameters of your selection brush in the section beneath the menu bar, as shown below.

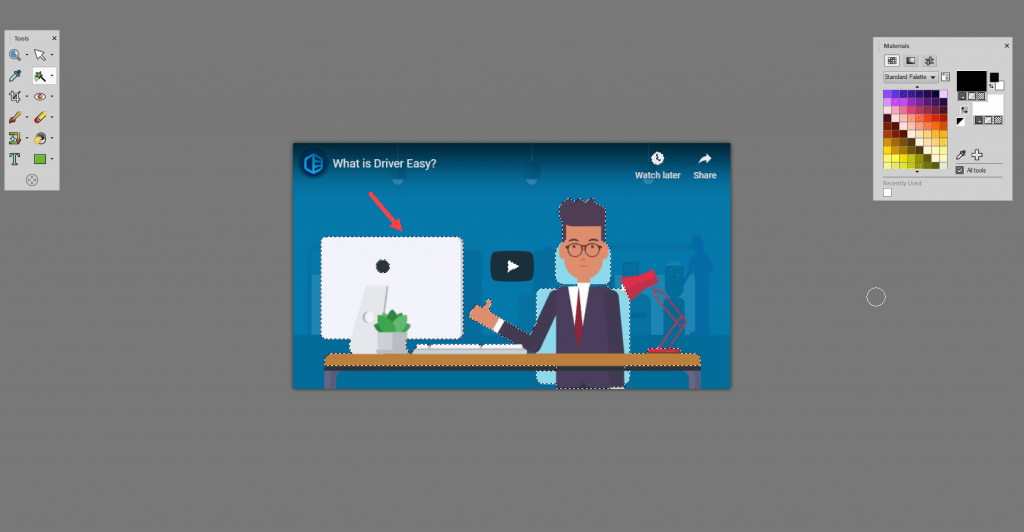
5) Use your selection brush to select an area that you don’t want to make blurry. Do you notice the dotted line border in the following picture? It means that a particular area of the picture has been successfully selected.
6) On the menu bar, click Selections to expand its drop-down menu. Then, click Invert.
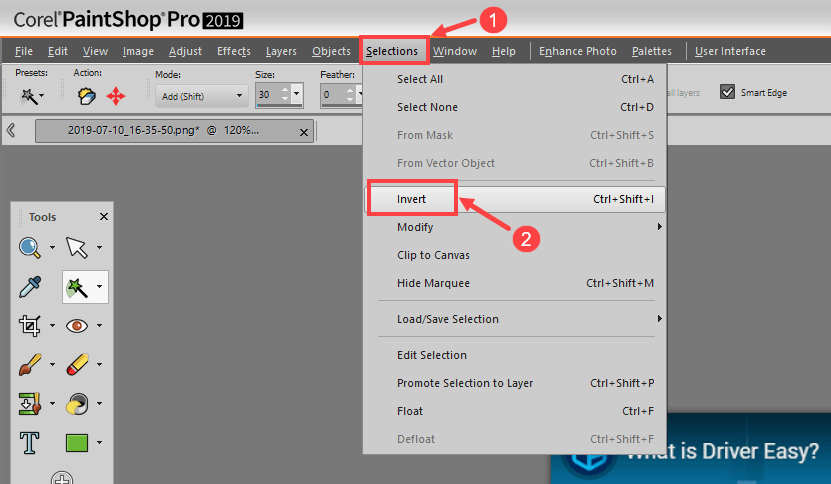
Now the selected area has been inverted.
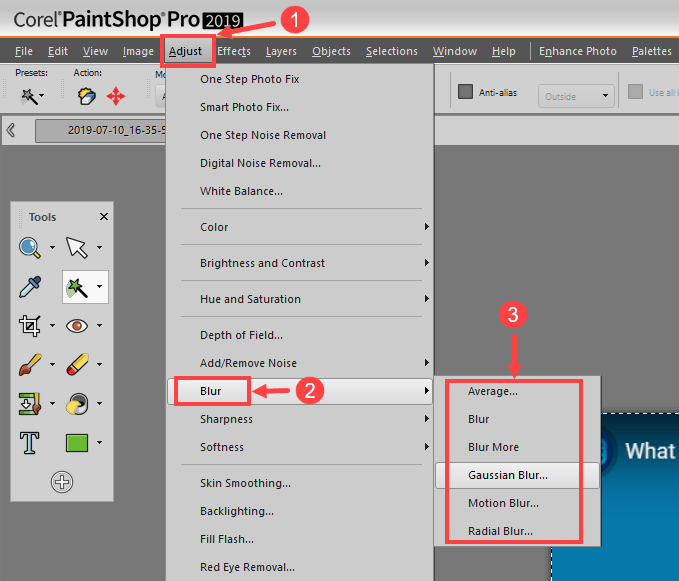
7) On the menu bar, click Adjust. Then, in its drop-down menu, click Blur and select one of the blur effects from the right.
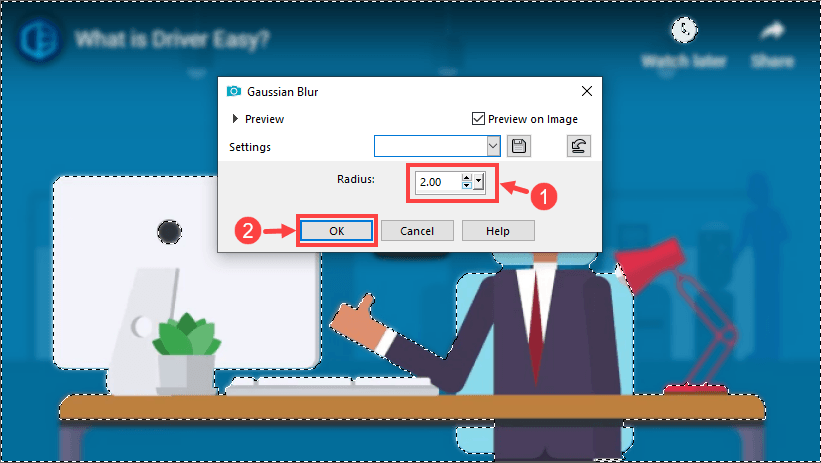
8) For example, you may have a try at Gaussian Blur…. Click this option to invoke the Gaussian Blur dialog box. Type or set a value in the Radius control from 0.00 to 100.00 based on your needs. After that, click OK.
And this is what the picture finally looks like. Surely you can do it much better than me!

How to blur a photo with Movavi Photo Editor
Movavi Photo Editor is another desktop picture editor used to touch up your pictures. It is more like the desktop version of picture editor apps in your mobiles than an alternative for Photoshop. In other words, it’s more geared for general users than professionals. Still, this program offers a wide range of characteristics for you to explore. So here are the pros and cons of Movavi Photo Editor:
Pros
- Neat and simple interface
- A good choice for novices to begin with
- Available for different languages
Cons
- Limited effects compared with professional picture editors
- Only one picture can be edited at a time
Now let’s figure out how to blur a photo with Movavi Photo Editor.
1) Run Movavi Photo Editor (I use the trial version here).
2) Click File > Open… on the top menu bar. Then select a photo from your folders.

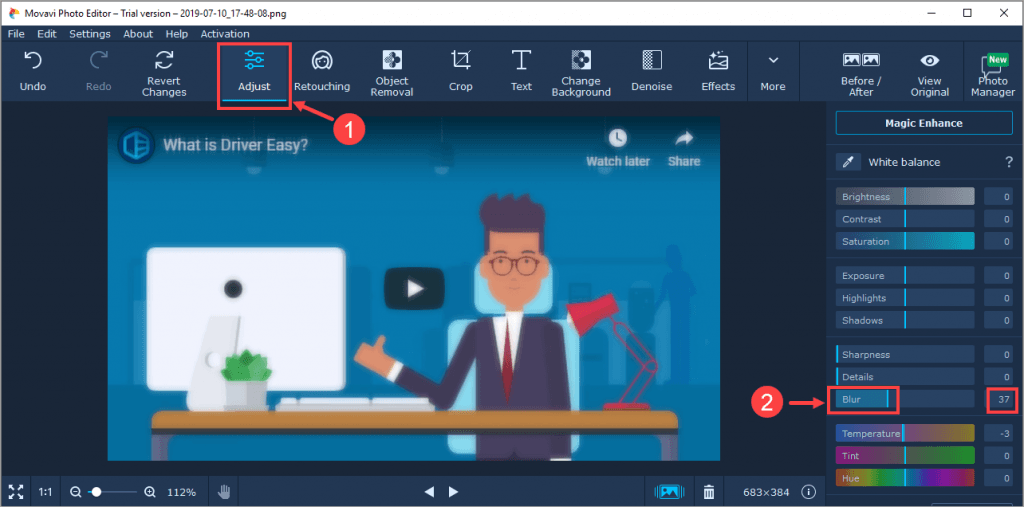
3) In the upper section, click Adjust. Then drag the cursor of the Blur option on the right panel to set a suitable value for your blur effect. Or you may simply type a value into the box next to Blur.
https://www.movavi.com/blur-image/
You can explore more functions in the premium version of Movavi Photo Editor.
All the three picture editor tools mentioned above are handy and reliable, so no matter which one you choose, it won’t disappoint you. Besides, have you mastered the trick to blur a photo? If you have any follow-up questions or ideas, please feel free to leave comments below. We’ll be more than glad to help you. Thanks for reading!
*Feature image by Julian Paolo Dayag from Pexels.

![How to copy photos from iPhone to PC [SOLVED]](https://www.supereasy.com/wp-content/uploads/2018/11/phone-690134-768x512.jpg "How to copy photos from iPhone to PC [SOLVED]")
![Easy to Make a Blurry Picture Clear [Step-by-Step Guide]](https://www.supereasy.com/wp-content/uploads/2019/07/action-blur-city-1011160-1-768x512.jpg "Easy to Make a Blurry Picture Clear [Step-by-Step Guide]")

![[FIXED] How To Remove Red Eye in Photos | Easily & Quickly](https://www.supereasy.com/wp-content/uploads/2019/07/f1.jpg "[FIXED] How To Remove Red Eye in Photos | Easily & Quickly")

")
")
")

 in 2024")
")