[SOLVED] Mangago Not Working – 2024 Guide
How to Fix MangaGo Not Working Issues

24 Revisions
![[SOLVED] Mangago Not Working – 2024 Guide](https://www.supereasy.com/wp-content/uploads/2021/09/sofa-5138395_640.jpg "[SOLVED] Mangago Not Working – 2024 Guide")
Mangago is one of the most popular manga websites that provide many types of manga and typical comics for free, but this doesn’t mean that it’s always a joy to use. If you’re running into Mangago not working issues, here’s a list of fixes to try.
Table of contents
Fix 1. Check Your Connection
First, let’s get the obvious out of the way: are you connected to the internet? Try visiting another site to see if they load. If other sites don’t work also, the problem is probably with your internet connection, not Mangago. Check our guide to troubleshoot internet connection issues.
If other sites load properly, then read on and try the fixes below.
Fix 2. Check for Server Issues
If the Mangago website fails to load, it could simply be because the Mangago service itself is down or offline. You can search Mangago on social networks to see if anyone has posted info about the downtime issues.
If the problem is on Mangago’s end, there’s nothing you can do but wait for them to fix it.
Fix 3. Restart Your Device
In most cases, the Mangago not loading error is a temporary issue that can be fixed by a simple reboot, whether you’re using your desktop, tablet, or mobile.
If you haven’t tried this yet, give it a shot.

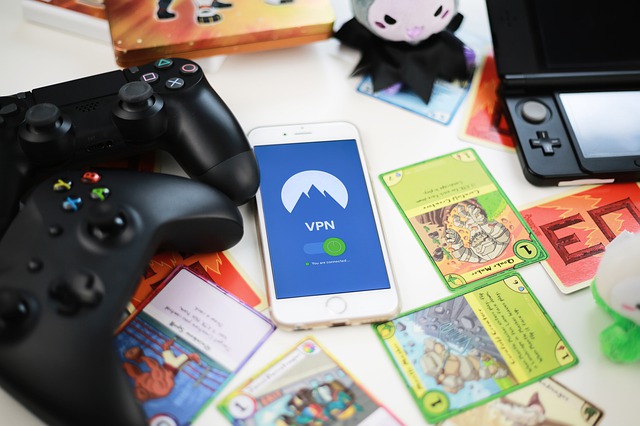
Fix 4. Use a VPN
Due to copyright issues, Mangago is banned in some countries. If you’re having problems accessing the site, chances are it is banned where you live. In this case, you would need a VPN, also known as a Virtual Private Network, to unblock access to Mangago. If you’re using a VPN already, change to a different server might help fix this issue.
Simply put, when you’re browsing online, your IP address reveals your location, while a VPN, allows you to change your IP address to a different one so you can access geo-blocked sites and content that are not available to you previously.
Some VPN services are free but, as with most things in life, you get what you pay for. Free VPNs are never as good as paid ones; either they’re not as fast or reliable, or they can be forced to share your details with the authorities.
Our favorite VPNs are:
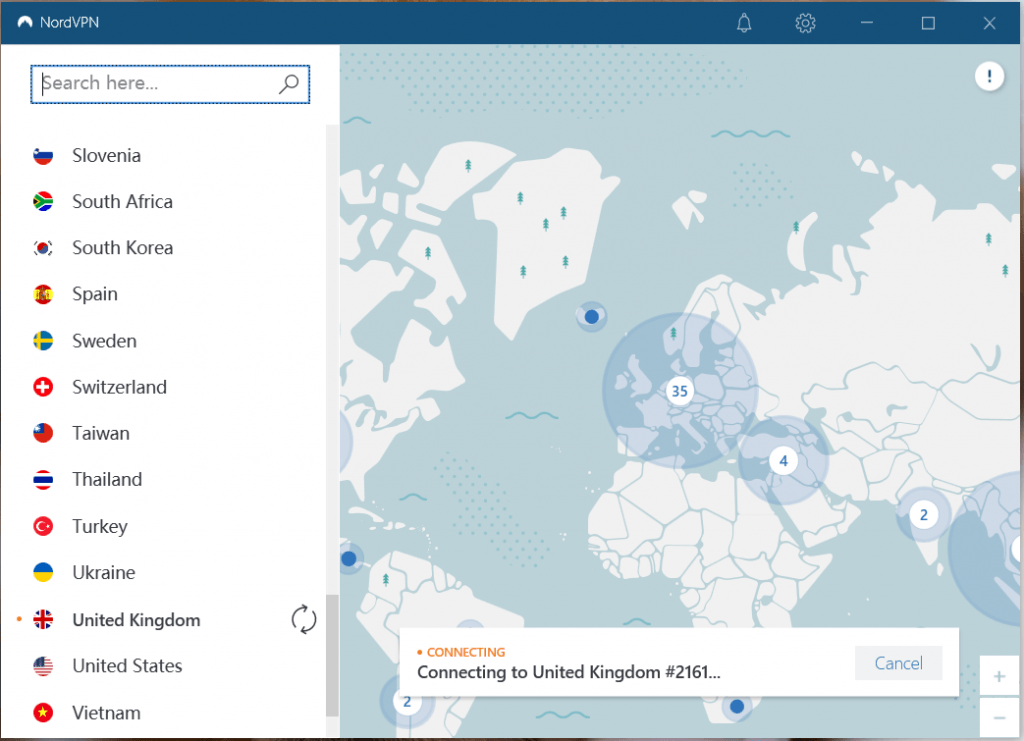
The steps below apply to NordVPN (because it’s our favorite VPN), but other VPNs work in much the same way.
Step 1: Download NordVPN and set up your account.
Step 2: Log into your account.
Step 3: Connect to a VPN server.
Apart from giving you access to blocked content, a VPN can encrypt your Internet traffic, so prying eyes won’t be able to track your online activity.
Fix 5. Rule Out Browser Issues
If the pages won’t load, it could also be a browser-related glitch. In this case, here are several workarounds for you.
Switch to a Different Browser or Incognito Window
When this happens the quickest solution is to try a different web browser/ Incognito Windows and see if the issue is still present.
You can try to visit the site in an alternate browser to see whether the problem lies with your current browser. For example, if you’re using Chrome, try loading Mangago in Edge.
If you don’t have another browser installed, you may want to try a private browsing window. When you’re visiting Mangago under Incognito mode, your browser won’t load the site with the cookies used to store your login info and track you around the web.
If Mangago loads with no problems, you can narrow down the problem to your browser. Try deleting your browser cache and cookies to see if they’re causing problems, or reset your browser settings back to default.
If Mangago still won’t load, the problem likely lies somewhere else on your machine.
Clear Browser Cookies and Cache
If you’re on a desktop, follow the instructions below:
1) Open your browser.
2) On your keyboard, press the Shift, Ctrl, and Del keys at the same time.
3) Click Clear data.
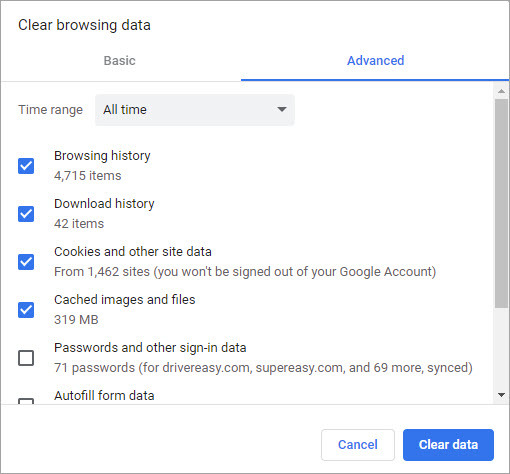
4) Try visiting Mangago to see if the problem still exists. If yes, try resetting your browser settings.
Reset Your Browser
1) Open your browser.
2) Go to Settings > Advanced.
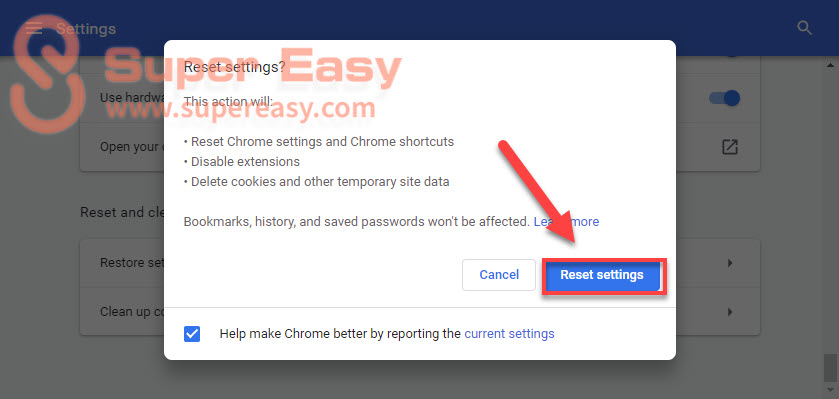
3) Under Reset and clean up, click Restore settings to their original defaults.
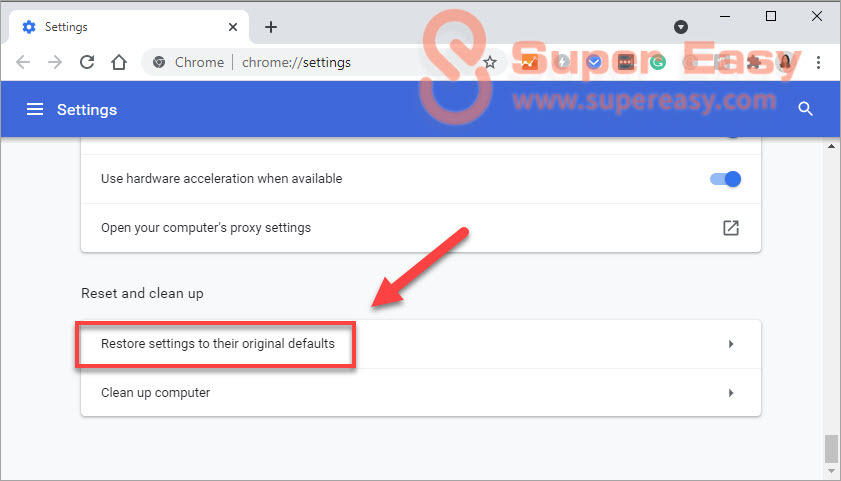
4) Click on Reset Settings.
Hopefully, this article helped! If you have a better idea on how to fix this issue, please share it with us in the comments. We would love your thoughts!


![Sling TV Not Working [FIXED]](https://www.supereasy.com/wp-content/uploads/2018/12/SlingTV.jpg "Sling TV Not Working [FIXED]")
")


")
")
")

 in 2024")
")