How to Check If Your VPN Is Working

17 Revisions

One of the main purposes of using a VPN is to protect your privacy by hiding your real IP address. However, not all VPNs work as they should. To check if your VPN is working properly, you can run some basic tests.
Table of contents
1. Do an IP address leak test
A working VPN should hide your IP address. So you can remain anonymous and secure. To test for an IP address leak, just follow these steps:
- Disconnect from your VPN and click here to check your original IP address. (Or you can type “what is my ip” in your browser’s search bar.)
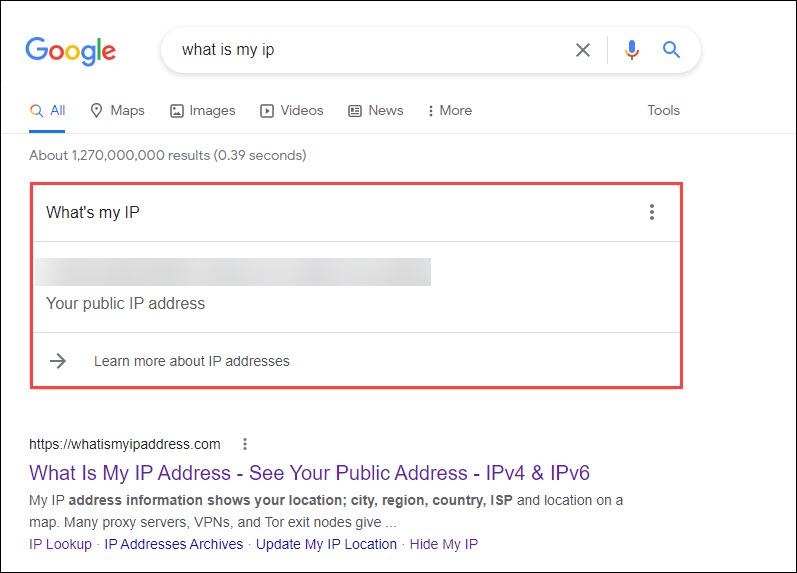
- Make a note of any public IP addresses you see.
- Turn on your VPN and check your IP address again by refreshing the page.
This time you should see a different IP address. If that’s the case, your IP address is not leaking and you can continue to run a DNS leak test.
If the results show your original IP address, then your VPN is leaking and you may need to change a VPN to prevent your privacy.
2. Run a DNS leak test
A DNS leak is a security flaw that occurs when your device’s DNS requests travel through your ISP’s DNS server despite using a VPN. DNS leaks can happen for many reasons. To check for DNS leaks:
- Go to the DNS leak test website. If your VPN is on, the website should show the location you’ve chosen and your new IP.
- Select Extended test. This test might take a few minutes.
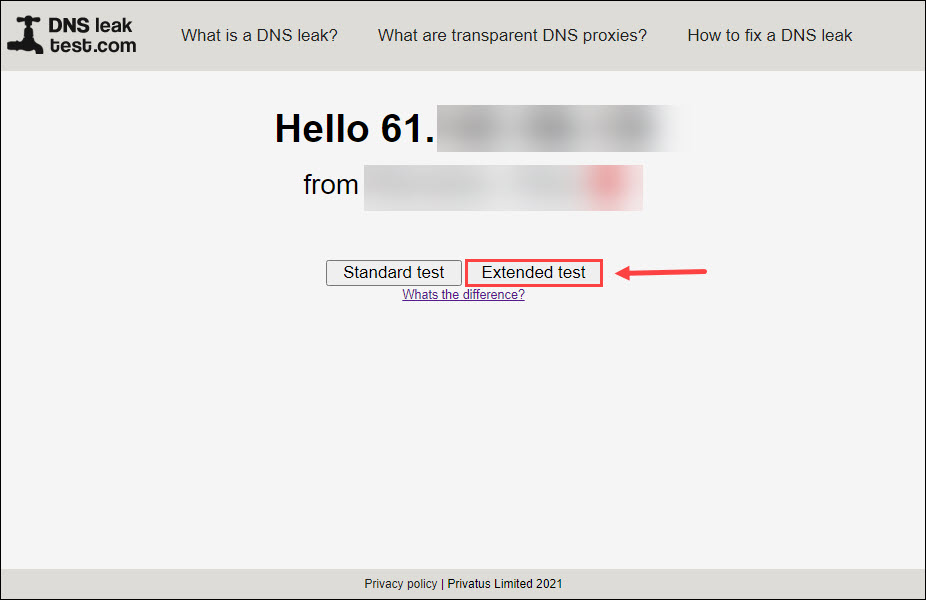
- If the test results show your new IP address and your chosen country, your traffic is secure. Otherwise, you have a VPN leak.
If a DNS leak is detected, try contacting your VPN provider’s support team for help.
Or you can change your VPN provider to one that offers DNS leak protection, like NordVPN.
NordVPN prevents DNS leaks by sending all your DNS queries through an encrypted tunnel to keep them private at all times. When you connect to NordVPN, your device only uses DNS servers operated by NordVPN.
This way, you won’t have to worry about DNS or IP leaks.
3. Perform a WebRTC leak test
WebRTC (Web Real-Time Communication) is a technology that allows browsers to communicate with each other in real time without requiring an intermediate server. The benefits of WebRTC include faster speeds and less lag for web apps like video chat, file transfer, and live streaming.
A WebRTC leak is a vulnerability that can occur in almost every browser that supports WebRTC. When it happens, your IP address is no longer protected.
Here’s how to check for WebRTC leaks:
- With your VPN off, check your IP address by typing “what is my ip” in a Google search. Make a note of it.
- Close your browser.
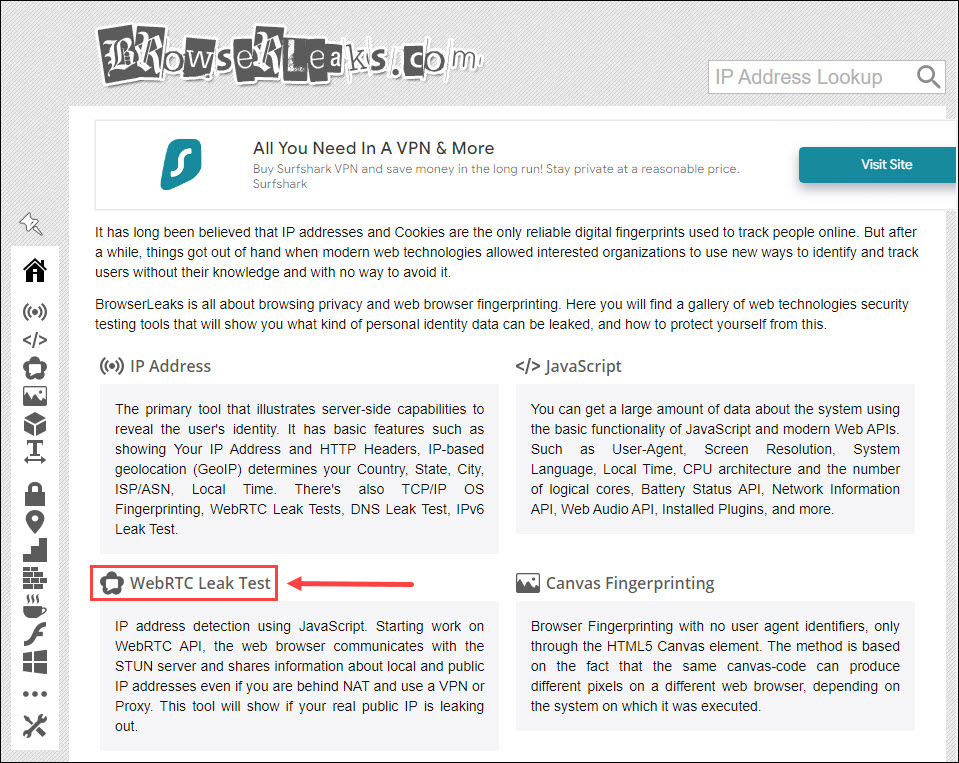
- Connect to your VPN and go to browserleaks.com. Then click WebRTC Leak Test.
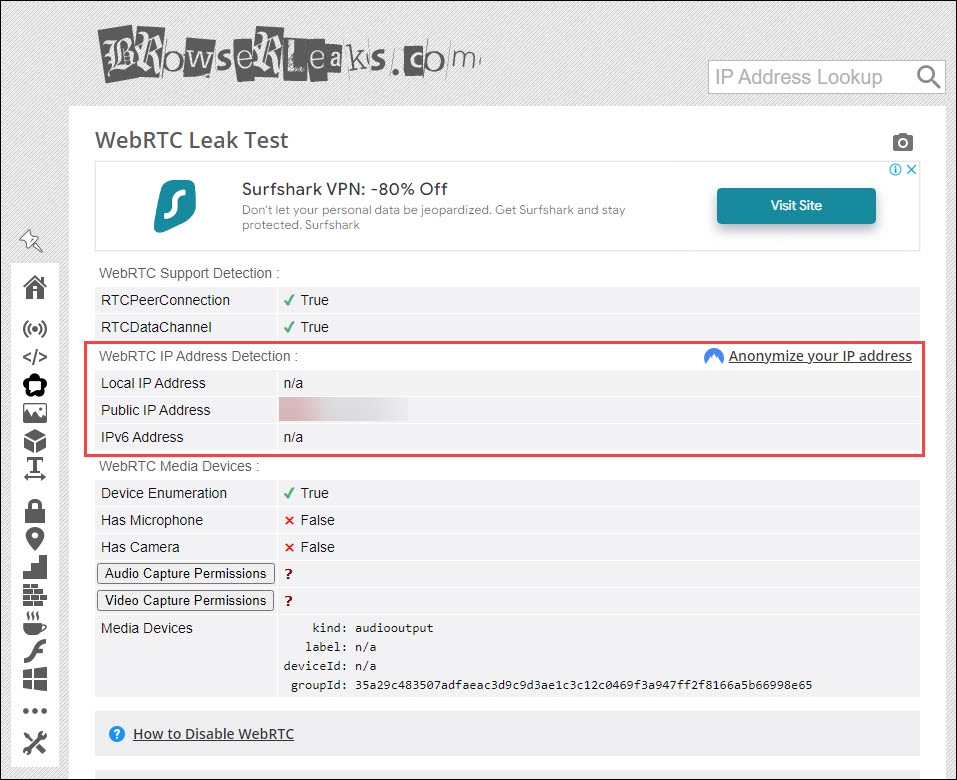
- Under WebRTC IP Address Detection, if your original IP, the one you noted down in step 1, is not there, you’re secure. If you see any of the same public IP addresses, you have a WebRTC leak.
What to do if your WebRTC is leaking
To protect yourself from WebRTC leaks, you can change a VPN.
NordVPN is engineered to be leak-proof. It blocks any IP address leaks through WebRTC while allowing authorized WebRTC connections to continue under your anonymous IP address.
To prevent WebRTC leaks, you can also disable WebRTC in your browser.
Google Chrome: Install uBlock Origin or WebRTC Network Limiter extension
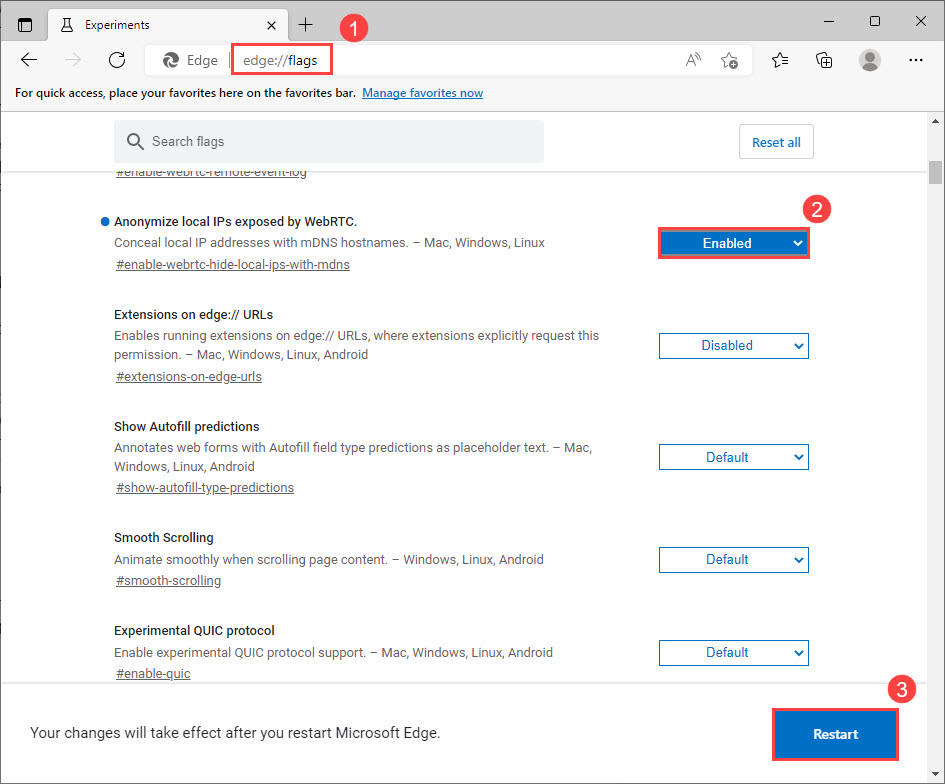
Microsoft Edge: Type edge://flags in the search bar and press Enter. Scroll down to find Anonymize local IPs exposed by WebRTC and click on the box next to it then select Enabled. Then click on the Restart button.
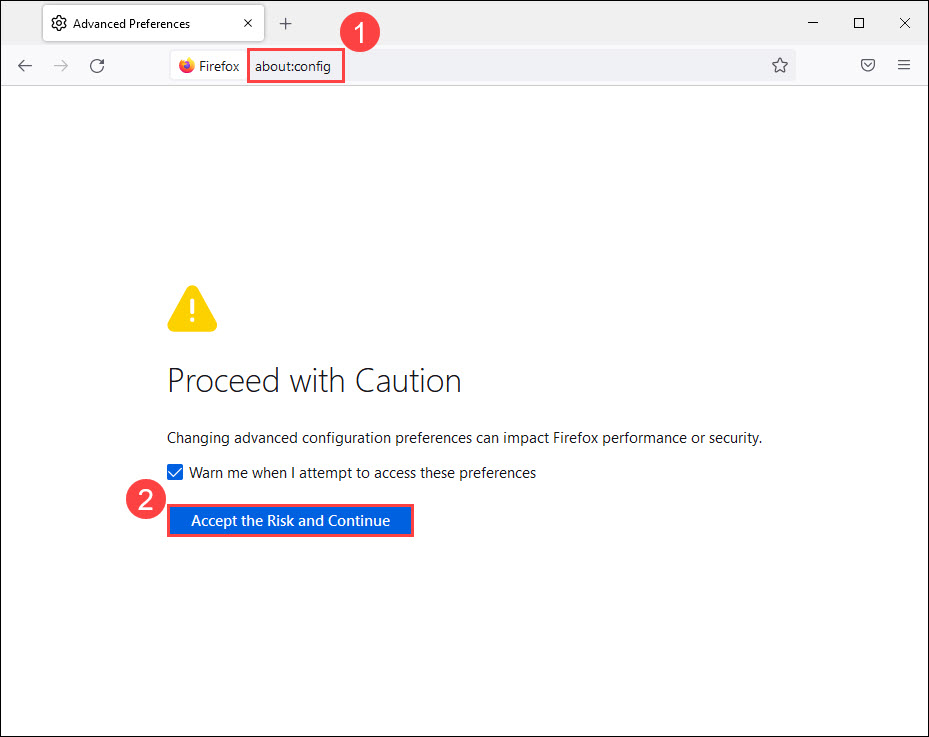
Mozilla Firefox:
- Type about:config in the address bar and press Enter. Click Accept the Risk and Continue.
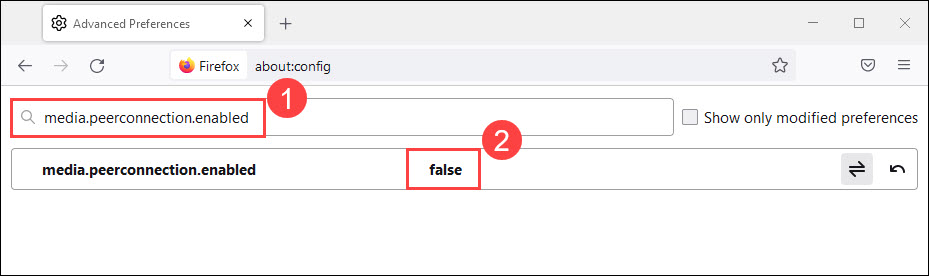
- Type media.peerconnection.enabled in the search bar. Then double-click on it to change the Value to false.
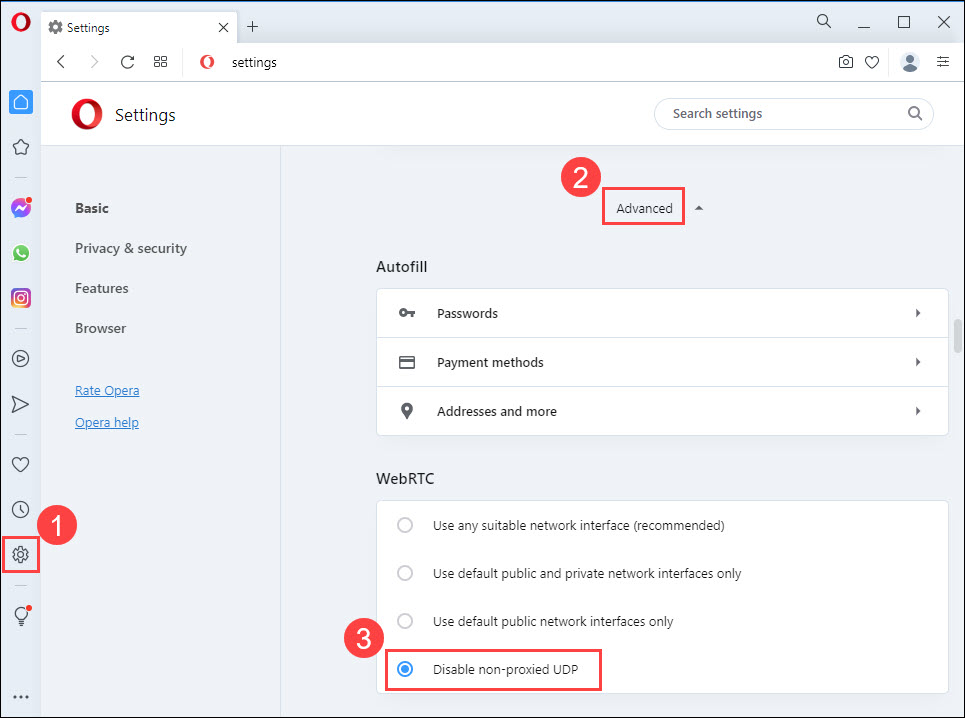
Opera: In the left-hand menu, click Settings (the gear icon). Then Scroll to the bottom of the page and click on Advanced. Under the WebRTC section, select Disable non-proxied UDP.
Safari:
- Go to Safari > Preferences.
- Click on the Advanced tab and check Show Develop menu in menu bar.
- Click Develop > Experimental Features, then uncheck WebRTC mDNS ICE candidates.
Credit: Featured Image by Stefan Coders from Pixabay


")

")
")

 in 2024")
")