[SOLVED] Error Code 0xc0000185 | Boot Configuration Data Error
How to Fix Windows 10 Blue Screen Recovery Error 0x0000185 Step by Step

28 Revisions
![[SOLVED] Error Code 0xc0000185 | Boot Configuration Data Error](https://www.supereasy.com/wp-content/uploads/2021/11/laptop-g9328c03a3_640.jpg "[SOLVED] Error Code 0xc0000185 | Boot Configuration Data Error")
Are you getting the Boot Configuration Data error code 0xc0000185 blue-screen error in Windows? There’s nothing scarier, in the Windows world! But don’t worry. You’re not alone, and you’re not stuck with it forever.
Error Code 0xc0000185 is quite common after a system restart, but it’s also usually quite simple to fix. Here’s how…
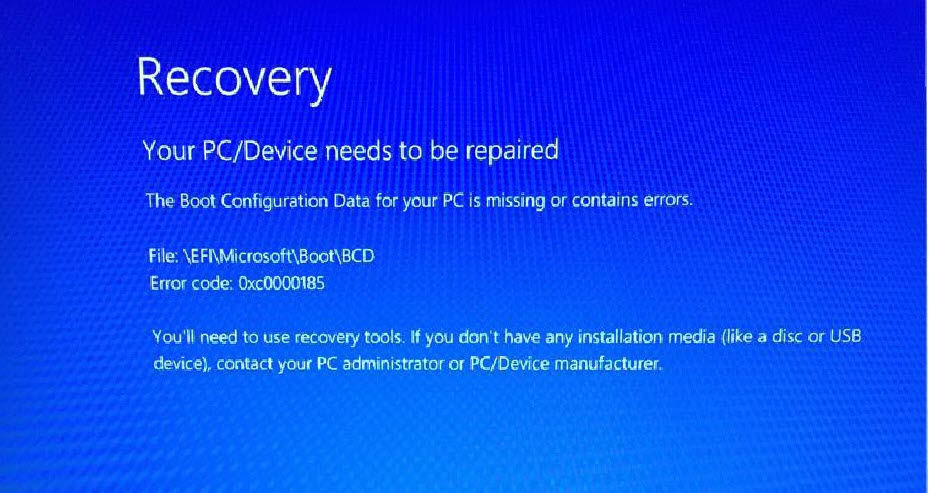
Table of contents
1. Fix BSOD with Restoro
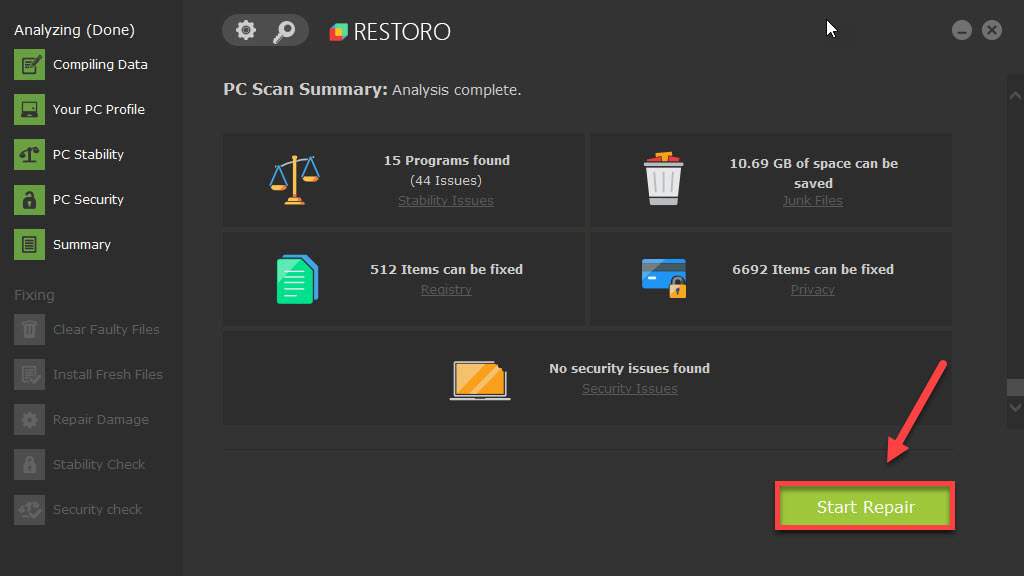
Error Code 0xc0000185 is caused by corrupted files related to the boot function. To repair broken and missing system files, you can use Restoro Windows repair tool to scan your system status.
1) Restart your PC. If you can’t boot into your computer through a standard reboot, you might need to boot your computer into safe mode.
2) Download Restoro and install it on your computer.
3) Click Scan Now to detect issues.
4) Click Repair All to fix issues with your device.
2. Rebuild Boot Configuration Data
Boot Configuration Data (BCD) contains boot-time configuration parameters. If the data gets corrupted, it can cause boot problems like this, and rebuilding BCD is required to fix the issue.
1) Boot your computer into Advanced Recovery Mode.
2) Select Troubleshoot.
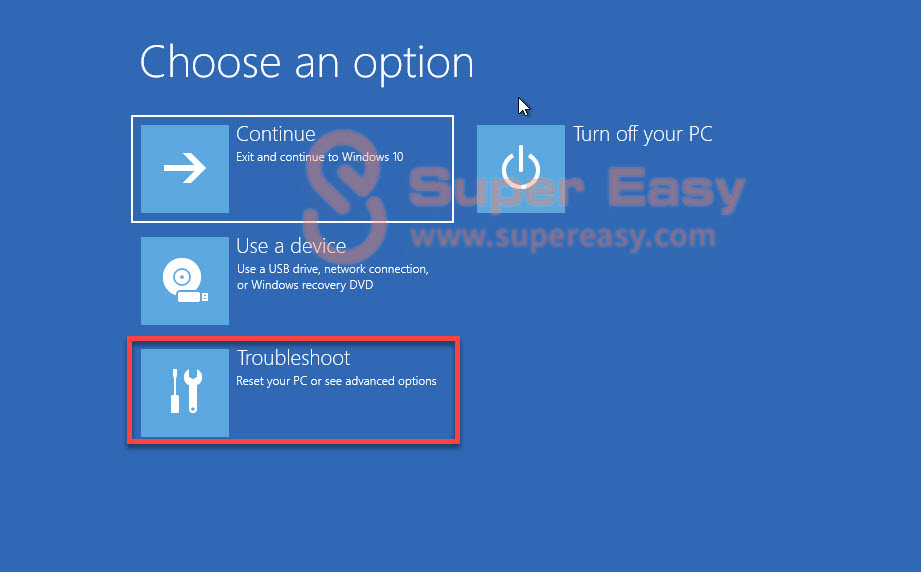
3) Select Advanced options.

4) Select Command Prompt.
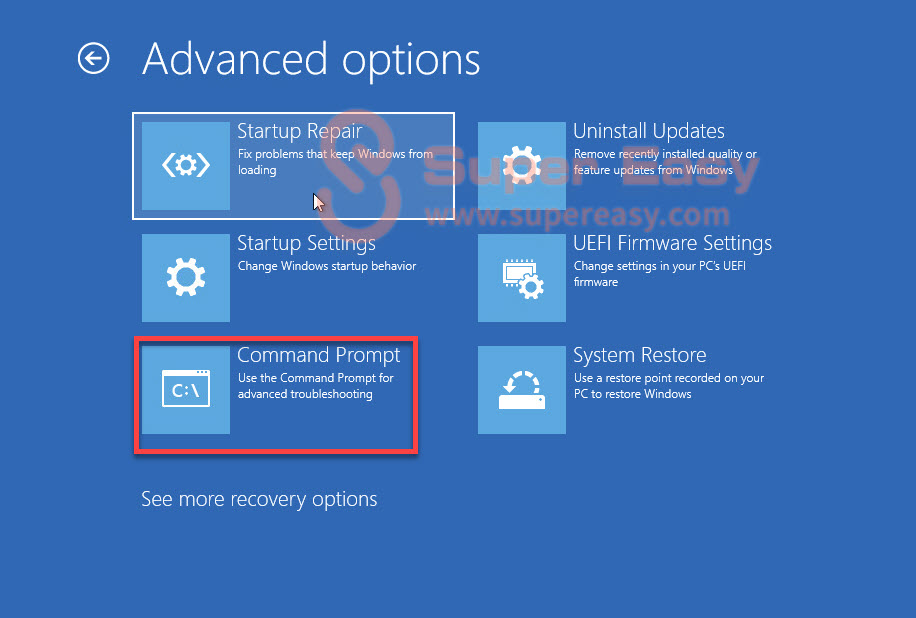
5) Type the following codes and press Enter on your keyboard after typing each command.
bootrec /scanos
bootrec /fixMBR
bootrec /fixBoot
bootrec /rebuildBCD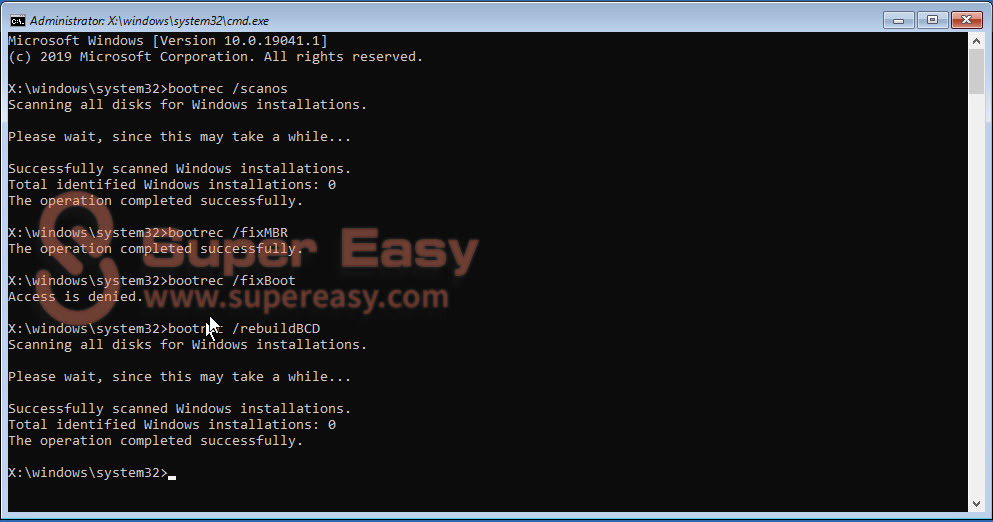
6) After the process is complete, close the Command Prompt window.
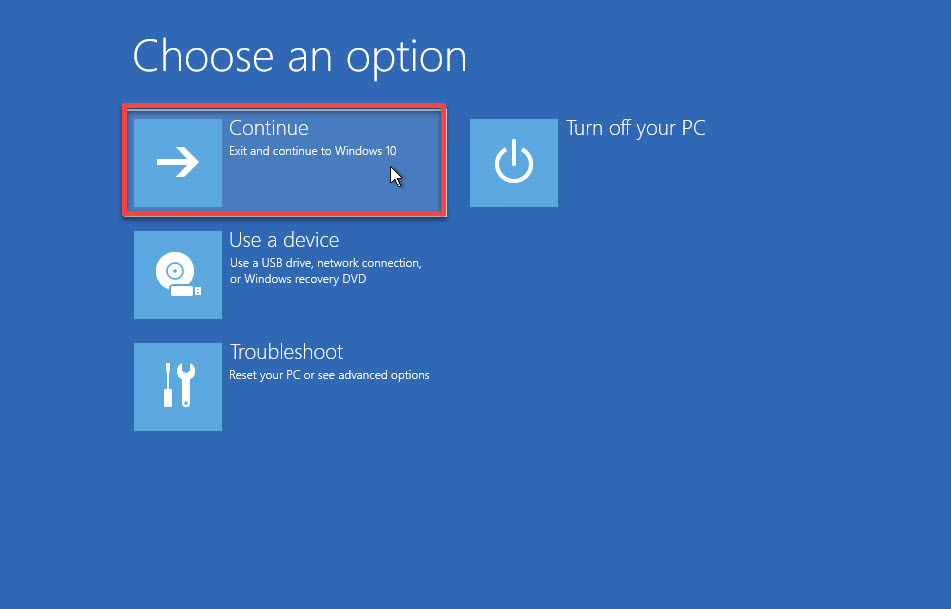
7) Select Continue to test the issue.
3. Rebuild Boot Configuration Data Using Boot Media
In some cases, you might not be able to get the repair tool you need to fix the issue. In this case, you’ll need a bootable Windows 10 USB drive to rebuild the Boot Configuration Data.
1) Download Windows 10 ISO from the Microsoft official page.
2) Once the download finishes, double-click the file to run it. Follow the on-screen instructions to create a bootable USB drive.
3) Rebuild the BCD in Windows as we have done in Fix 2. Only this time, we’ll boot to the USB drive rather than the main drive.
4. Perform a Disk Check
A blue screen of death error could indicate a hard disk problem. So you want to make sure that your disk is in a good state:
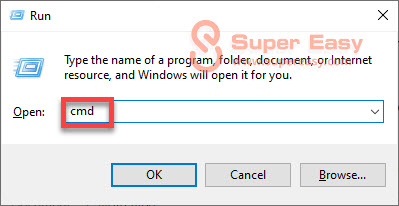
1) On your keyboard, press the Windows logo key and R at the same time to invoke the Run dialog.
2) Type cmd and press Ctrl, Shift, and Enter at the same time to run Command Prompt as administrator.
3) When prompted with the administrator permission, click Yes to continue.
4) On your keyboard, type chkdsk /f /r, then press Enter.
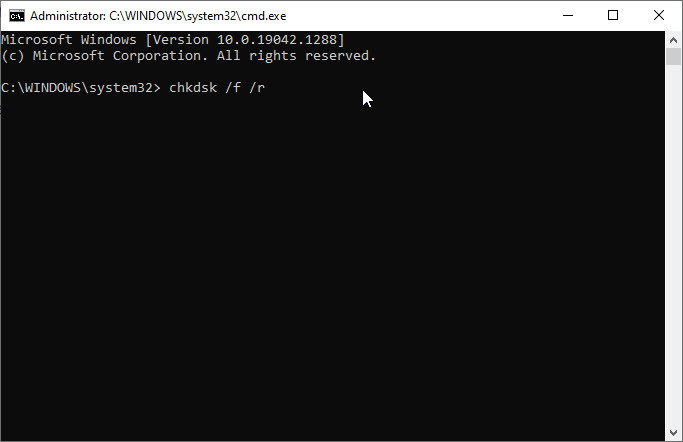
5) Press Y on your keyboard.
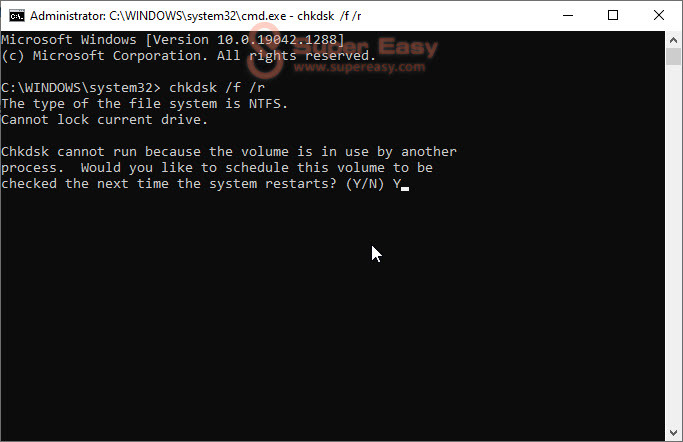
Disk Check will start the next time you boot your PC and it might take some time to complete (could be a day for some).
If, when you restart, you don’t have time to wait for the disk check to complete, you can skip it. You’ll need to reschedule it again, as described above.
5. Run System Restore
If the issue happened because of a bad piece of software, say an app your installed or a driver that went wrong, you can use the windows build-in System Recovery feature to fix it. System Recovery allows you to roll your Windows installation back to its last working state.
There’re two ways to perform a system restore on your device:
- Via Advanced Recovery Menu (If you can boot into your system)
- From Windows Settings (If you can boot into your computer)
Via Advanced Recovery Menu
1) Boot your computer into Advanced Recovery Mode.
2) Select Troubleshoot.
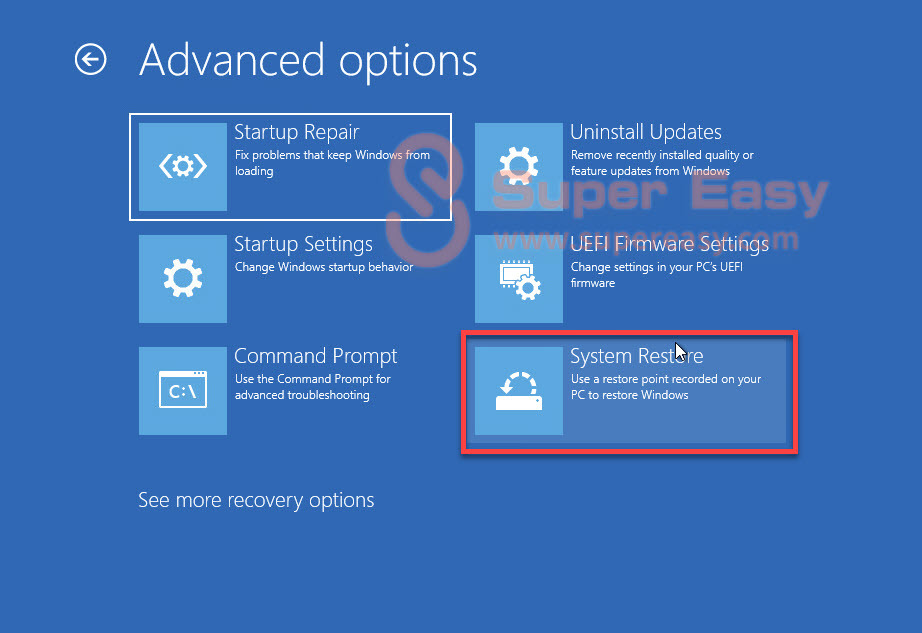
3) Select Advanced options.
4) Select System Restore.
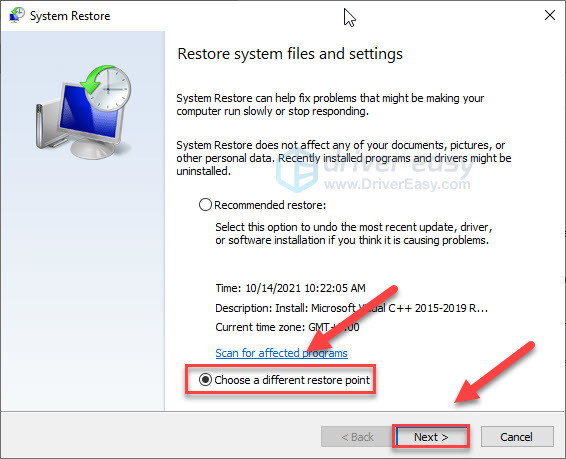
5) Click Choose a different restore point, and click Next to select a restore point before the issue occurs.
6) Follow the on-screen instructions to finish the restore.
If you don’t have a restore point in System Restore, move on and try Fix 6 below.
From Windows Settings
1) Boot your computer into safe mode.
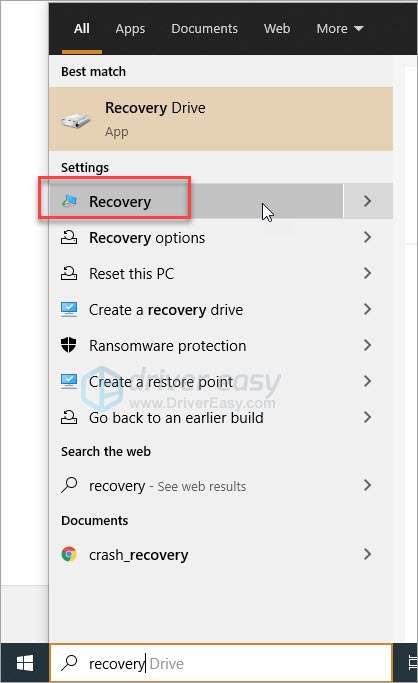
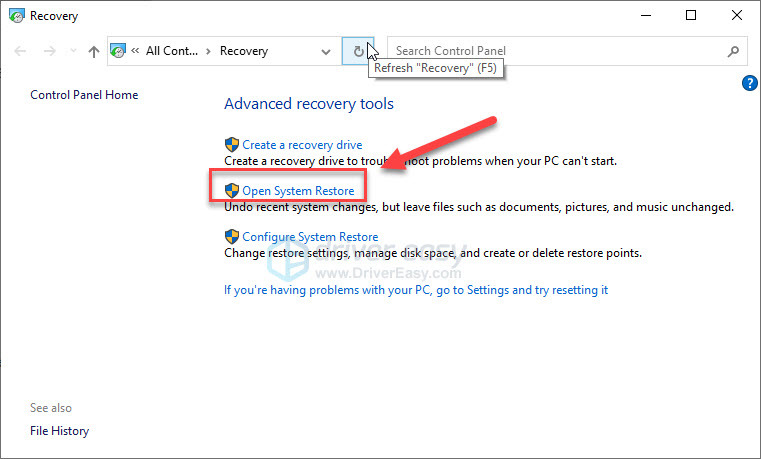
2) Type recovery in the search box on your desktop, and click Recovery in the list of results.
2) Click Open System Restore.
3) Click Choose a different restore point, and click Next to select a restore point before the issue occurs.
4) Follow the on-screen instructions to finish the restore.
If you don’t have a restore point in System Restore, move on and try the next fix below.
6. Run Disk Cleanup
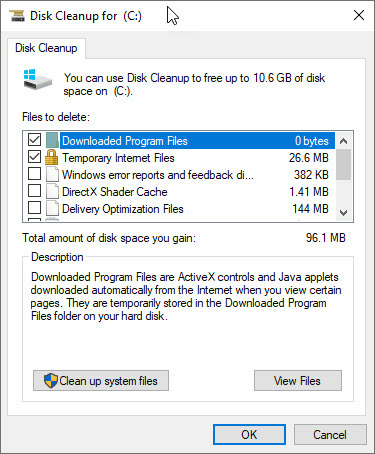
Disk Cleanup can be used to clear out unnecessary files on your computer, such as temporary files, cached webpages, and items in your Recycle Bin.
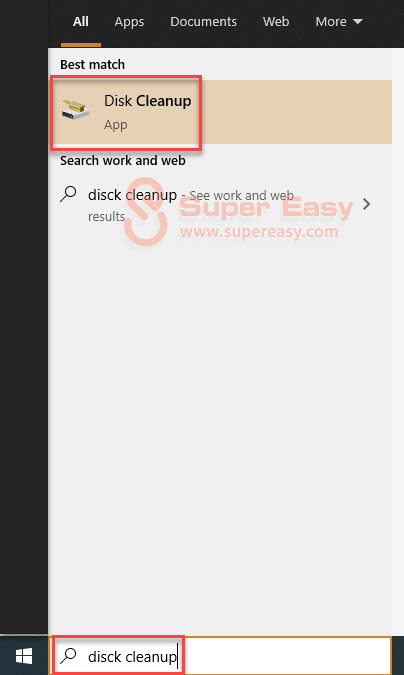
1) On your keyboard, press the Windows logo key and type disk cleanup and select Disk Cleanup.
2) Select the disk that you want to clean.
3) Click OK and wait until the process completes.
7. Perform a Fresh Install
If none of the solutions works for you, you may have to do a clean reinstallation of Windows 10. Note that this will wipe all files and data that you’ve stored on the computer.
Hopefully, this article helped! Please let me know which method helped you, or if you have a better idea on how to fix this issue. I would love your thoughts!


")
")
")

 in 2024")
")