How to change IP address Windows 10

122 Revisions

Whenever you go online, you need an IP address. But you don’t have to stick with the same one. If you’re wondering what an IP address is and how to change it, you’ve come to the right place!
In this article, we have covered…
- What an IP address is
- How to check the current IP address
- How to change an IP address
To change your public IP address
To change your private IP address - Bonus Tip: Use a VPN to hide your real IP address
What is an IP address
IP address is short for Internet protocol address. It is a string of number that uniquely identifies a device on the network. Just like a pizza service that requires you to fill in your physical home address for the takeout to be delivered to your door, you’ll also need an IP address when going online so that websites and services know where you are and transmit data.
An IP address consists of two numbers, public IP address and private IP address. The public IP address is assigned to your router and it’s how devices outside your immediate internet network identify your local network. For example, if you’re connected to a WiFi network, you are probably sharing the same public IP address with everyone else connected to the same WiFi. Also, if you use your own mobile data, you may have your own public IP address.
The private IP address is used to identify each device that’s connected to the same network. For example, your printer, your computer, your phone, and your tablet share the same public IP address (assuming they’re connected to the same local network), but they have a private IP address to themselves.
There are two types of IP address, IPv4 and IPv6. The IPv4 uses 32 bits in its number and has a total of 4.3 billion of addresses available in its form, whereas IPv6 adopts a 128-bit form and allows up to 340 trillion trillion trillion unique addresses, which is the solution for the long term growth of the Internet, with IPv4 addresses dying out.
Here are some examples of IPv4 and IPv6 addresses:
IPv4:
123.45.67.89
01 . 102 . 103 . 104
IPv6:
FE80:CD00:0000:0CDE:1257:0000:211E:729C
2001 : db8: 3333 : 4444 : 5555 : 6666 : 7777 : 8888
How to check your IP address
In order to know whether your IP address change is successful , you’ll need to check your device’s current IP address first.
Here is how to do it: Launch your web browser, type what’s my ip and press Enter. Immediately you’ll be returned with the current IP address of your device.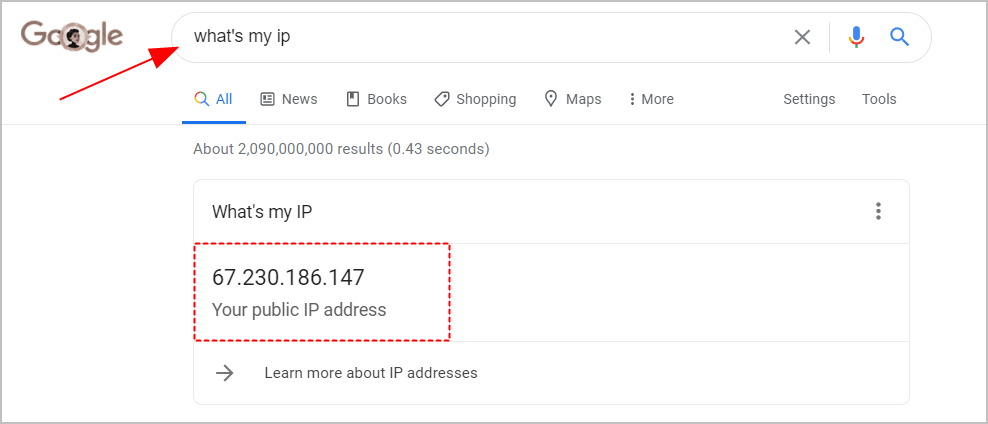
How to change your IP address
Here are five different methods that would help you change an IP address. Just choose the ones you like.
To change your public IP address:
To change your local/private IP address:
Bonus Tip: Use a VPN to hide your real IP address
To change your public IP address:
Method 1: Restart your modem/router and restart your computer
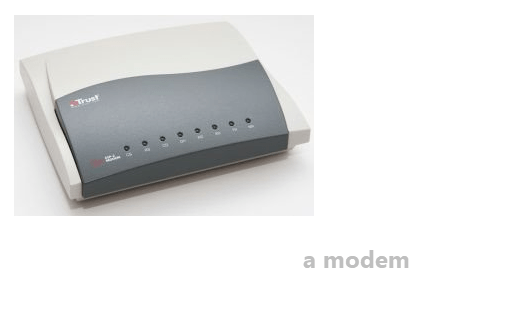
If your computer is connected to a network through a modem, the computer is usually automatically assigned a dynamic IP address by your ISP. These IP address belong to your modem for a specific period of time before your ISP refreshes it with a new one. You can sometimes speed up the process by restarting your modem/router and your computer.
Here is how to do it:
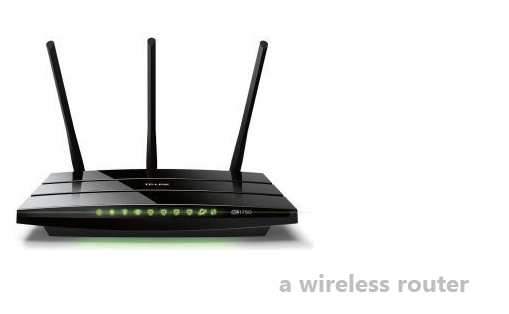
- Unplug your modem (and your wireless router, if it’s a separate device) from the power socket.
- Wait 60 seconds for your modem (and your wireless router) to cool off.
- Plug the network devices back in again and wait until the indicator lights are back to the normal state.
- Restart your computer.
- Check your IP address to see if it is changed.
Method 2: Switch to a different network
Another easy way to obtain a different public IP address is to connect to a different network. To do so, simply can take your computer to a friend’s place, a cafe, a library or anywhere that provides you with Internet access.
To change your private IP address
Method 1: Renew your private IP address
If you intend to change your private IP address, you can run the ipconfig /renew command. This nudges your DHCP client to negotiate a new IP address lease with the DHCP server.
Here is how to renew your private IP address:
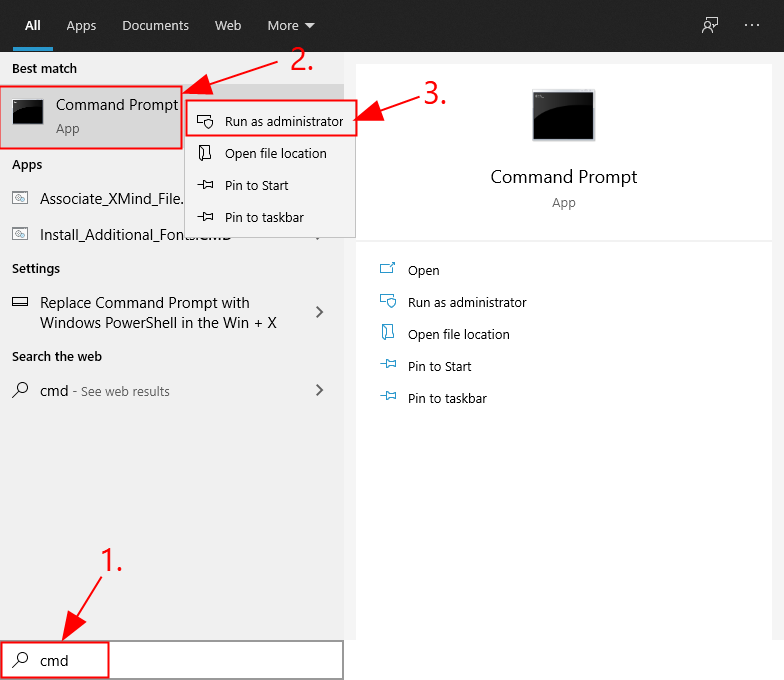
- On your keyboard, press the Windows logo key and type cmd. Then right-click on Command Prompt and click Run as administrator.
- When prompted for permission, click Yes to run Command Prompt.
- Type ipconfig /release and press Enter on your keyboard.

- Type ipconfig /renew and press Enter on your keyboard.

- Check your IP address to see if it’s a new one.
Method 2: Specify a static IP address manually
Sometimes the auto-generated IP addresses by your router may be a hassle when you want your PC to have a static, unchanging IP address. In this case, you can assign a static IP address to your device.
Here are the steps:
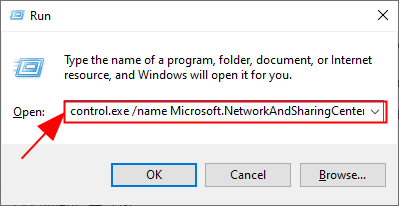
- On your keyboard, press the Windows logo key and R at the same time to invoke the Run box, then copy & paste control.exe /name Microsoft.NetworkAndSharingCenter into the box and press Enter.
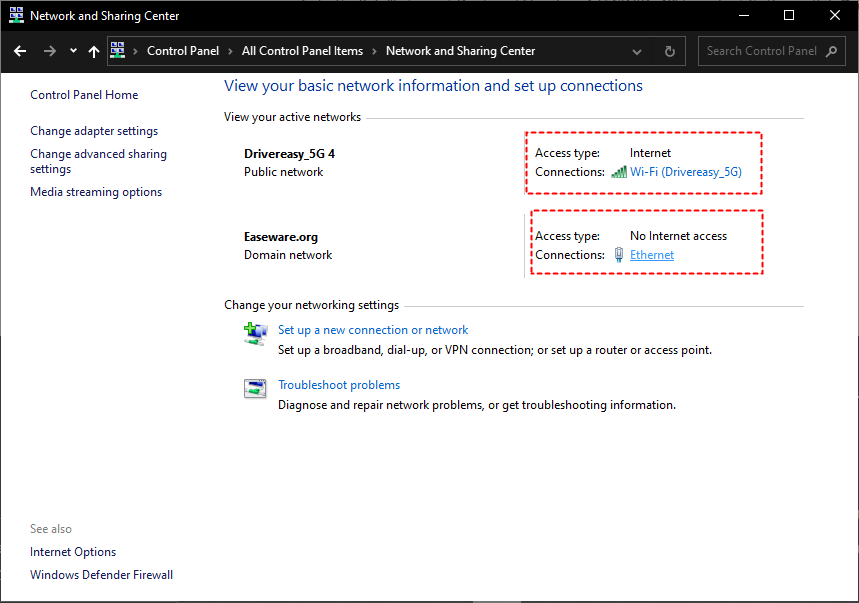
- Choose the corresponding connection whose IP address you would like to change.
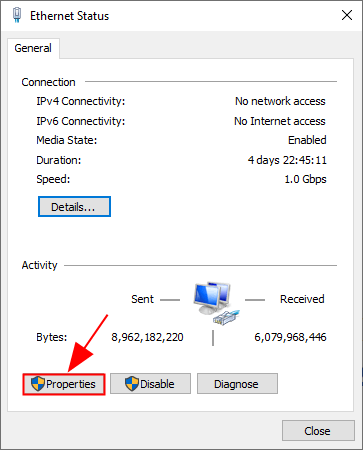
- Click Properties.
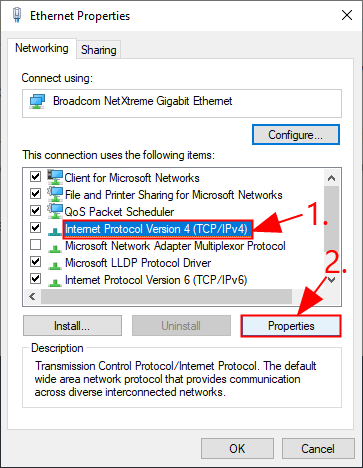
- Click Internet Protocol Version 4 (TCP/IPv4) > Properties.
- Select Use the following IP address and enter your desired IP address. Then click into the Subnet Mask area and it should auto-fill appropriately.
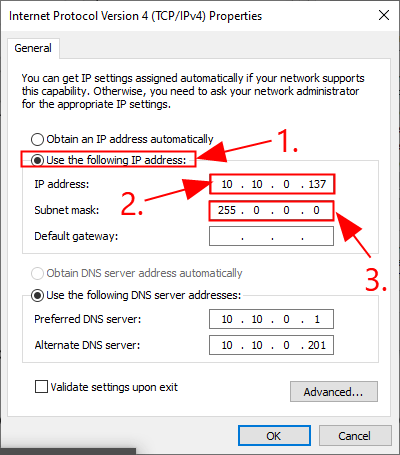
- Click OK and then close the windows that open to configure the setting.
- Now check your IP address to see if it’s changed.
Bonus tip: Use a VPN to hide your real IP address
As you probably have learnt from the above, everyone needs a public IP address in order to go on the Internet. So every time you connect to the Internet, you’re essentially sharing that IP address with every website you go to and app/service you use. This means that your IP address reveals lots about you – your location, your identity and your browsing activity. If you want a free, private and secured Internet surfing experience, we recommend that you use a VPN.
A VPN (Virtual Private Network) is a service that encrypts your Internet data and routes it through a server in a location of your choosing. In doing so, your online activity is scrambled, making it virtually impossible to trace what you have done online; at the same time, websites, online services and ISPs will recognize you as you were browsing from a location where the server is based instead of where you really are.
Here are some of the perks using a VPN:
- Hide your real IP address.
- Avoid ISP tracking.
- Bypass geographical censorships and unblock contents that are otherwise unavailable to your region.
- Protect yourself from snooping on untrustworthy Wi-Fi hotspots.
- Gain some anonymity online by hiding your true location.
- Protect yourself from being logged while torrenting.
You can set up a VPN connection manually, but this requires a lot of time, patience and computer skills. So it’s easier to use a VPN service, such as Nord VPN.
As a top-notch VPN service, NordVPN is very easy-to-use. It helps you set up a fast, stable and secure VPN connection to anywhere, all within a couple of clicks!
If you’re not sure whether NordVPN is right for you, you can try it out for 30 days free (In fact, Nord insists you do so). During the free trial, you can always choose to opt out or stick to the service.
Here is how to use NordVPN:
- Download and install NordVPN.
- Run NordVPN, then choose a location you want to connect to.
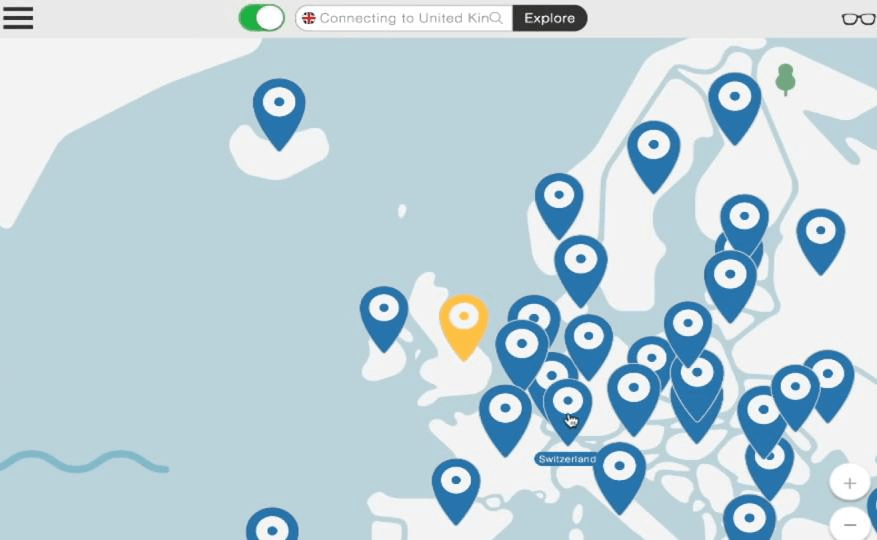
- Once you’ve set up a VPN connection, you will find that your IP address has been replaced by the one where the chosen server is based.
That’s it – hopefully now you have successfully changed your IP address. If you have any questions, ideas or suggestions, feel free to drop us a comment below. Thanks for reading!


![[Fixed] The Proxy Server Is Refusing Connections Issue](https://www.supereasy.com/wp-content/uploads/2019/12/pro.jpg "[Fixed] The Proxy Server Is Refusing Connections Issue")
![How to back up Windows 10 [Easily]](https://www.supereasy.com/wp-content/uploads/2018/10/window-1231891-768x523.jpg "How to back up Windows 10 [Easily]")

![[Solved] WhatsApp Not Opening On PC](https://www.supereasy.com/wp-content/uploads/2021/06/whatsapp-768x512.jpeg "[Solved] WhatsApp Not Opening On PC")
![[SOLVED] How to disable BitLocker on Windows 10](https://www.supereasy.com/wp-content/uploads/2020/09/How-to-disable-BitLocker-1-768x188.jpg "[SOLVED] How to disable BitLocker on Windows 10")
")
")
")

 in 2024")
")